
Android is a highly customizable mobile operating system. On Android, whenever we hear about the word ‘customization’ we think of launchers and icon apps. However, do you know that you can customize the working of your Android’s hardware button?
Yes, it’s possible with some apps. However, you need to have a rooted Android device with Xposed installed. We can use a module known as Xposed additions to change the working of the hardware button on Android.
How To Change Working Of Hardware Buttons In Android
With Xposed addition Xposed module, you can change the working of your phone’s power button, volume button, home button, etc. So, let’s check out how to change the working of the hardware button on Android smartphones.
Note: The below-discussed method will reconfigure the program files of the button, so use this method carefully.
Step 1. First of all, you need a rooted Android as an Xposed installer can be only installed on a rooted Android, so Root your android to proceed.

Step 2. After rooting your Android device, you have to install the Xposed installer on your Android and that’s quite the lengthy process and for that, you can proceed with our Guide to Install Xposed Installer On Android.
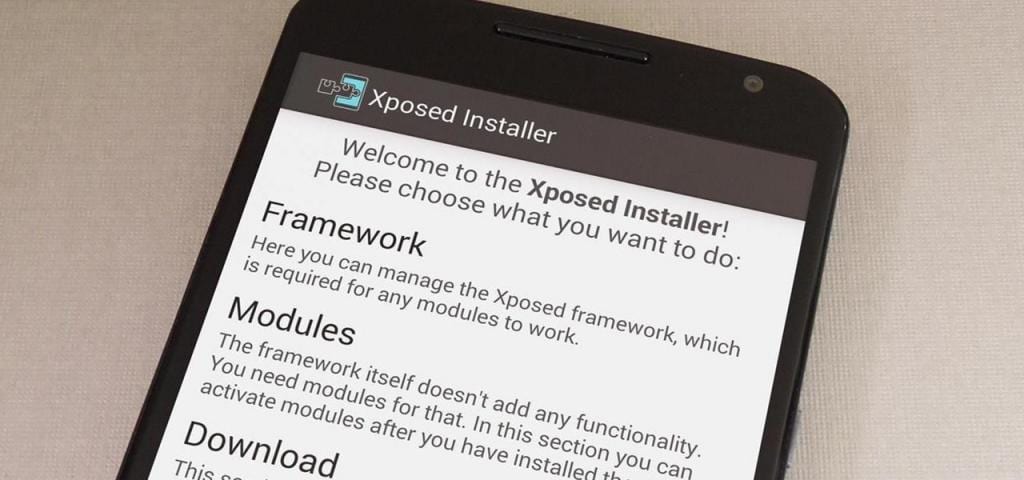
Step 3. Now after having the Xposed framework on your Android, the only thing you need is the Xposed module Xposed Additions that will allow you to remap the working of you hardware buttons.
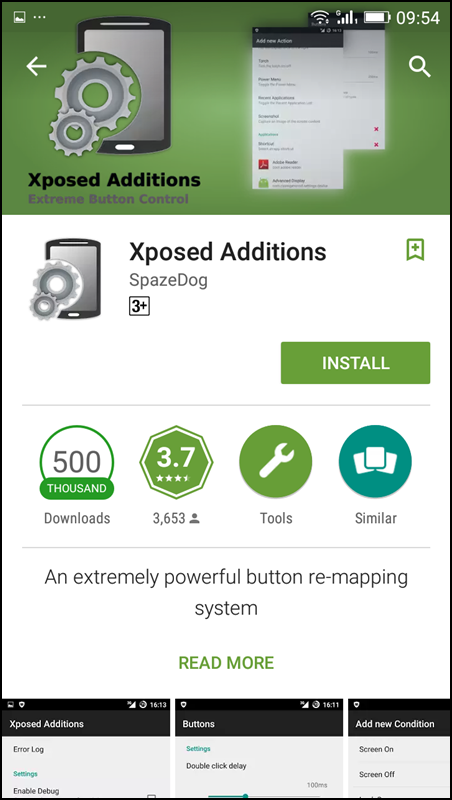
Step 4. Now install the app and launch it on your Android and you just need to provide superuser access to the app to proceed.
Step 5. Now in the app, you will see the option Buttons (Configure buttons Remap Settings), just tap on it.
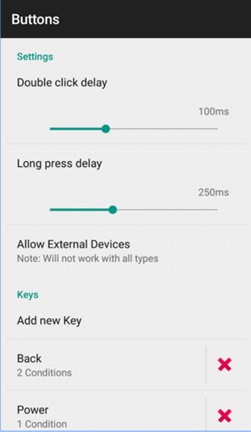
Step 6. Now you will see all the related options that your buttons can perform, you can modify the working of all these buttons using this app.
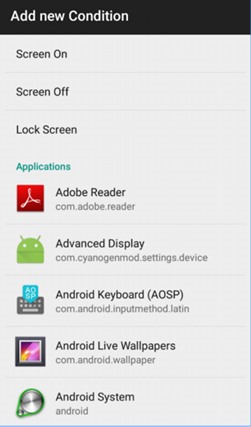
Step 7. You can also add new keys and new conditions that will work accordingly you set them.
That’s it! You are done, now the keys and the condition will perfectly work accordingly you set in the app.
2. Using Buttons Remapper
In this method, you don’t need to have a rooted Android smartphone. Buttons remapper allows setting custom actions for hardware including capacitive (not software) buttons of your Android device. Let’s know how to use it.
Step 1. First of all, you need to download the app Buttons Remapper from Google Play Store.
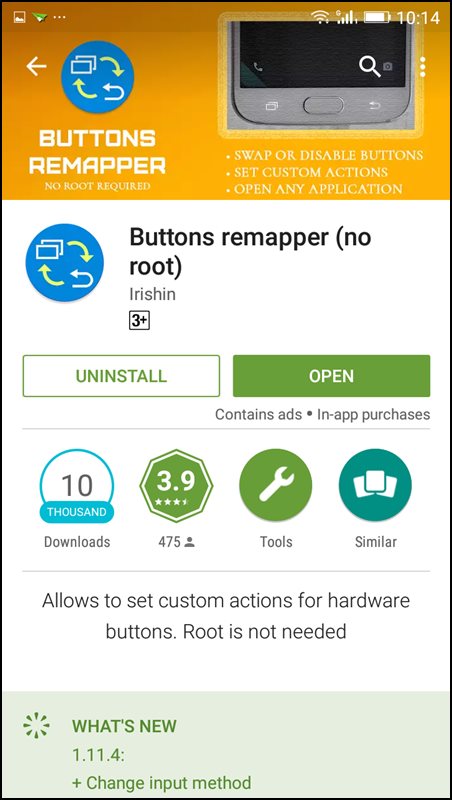
Step 2. Now open the app, and you need to grant the permissions.
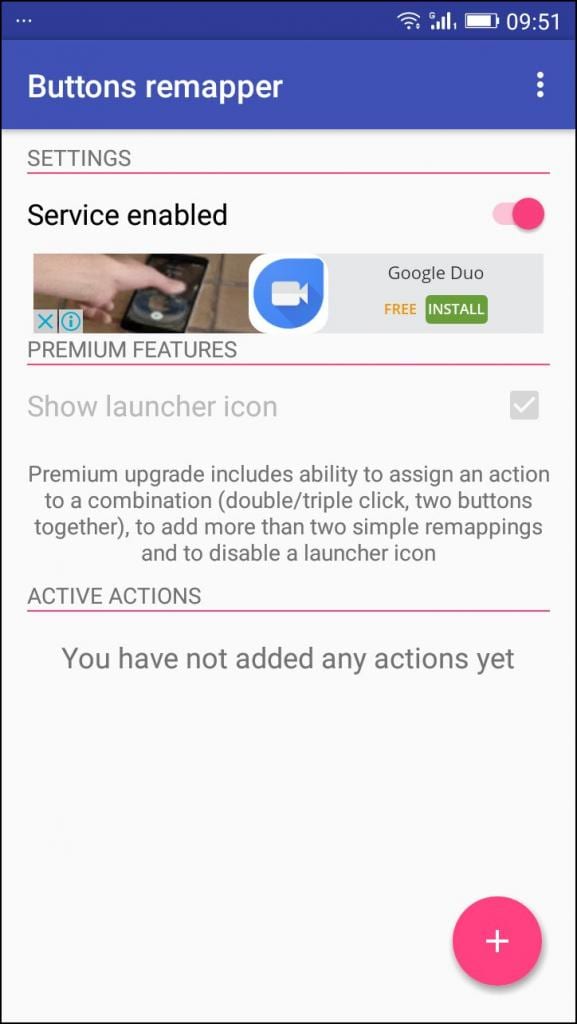
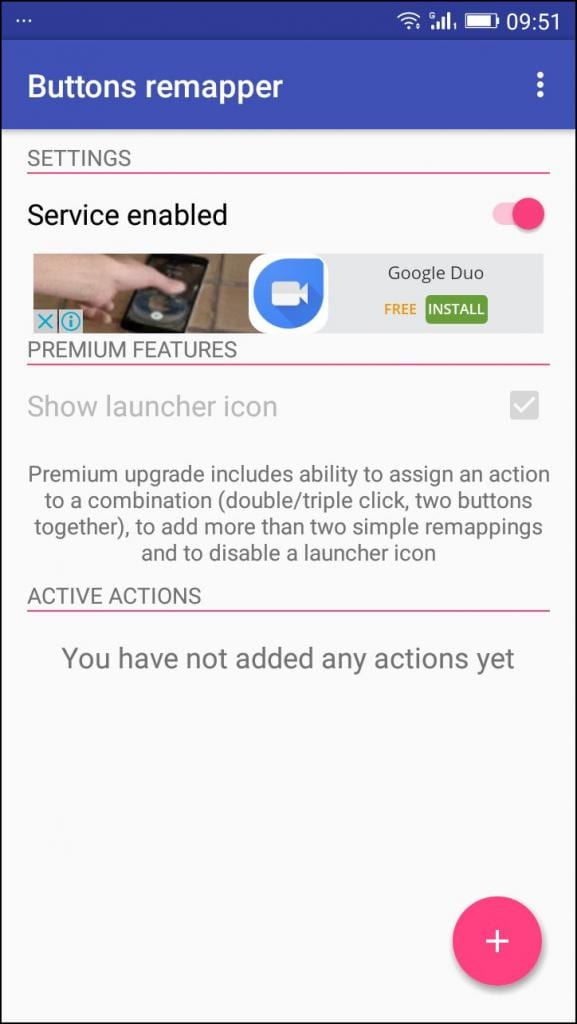
Step 3. After granting the permissions, you can see it’s home screen. Here you just need to click on “+” button and select “Short and Long Press.”
Step 4. Here you need to choose the hardware buttons and the actions.
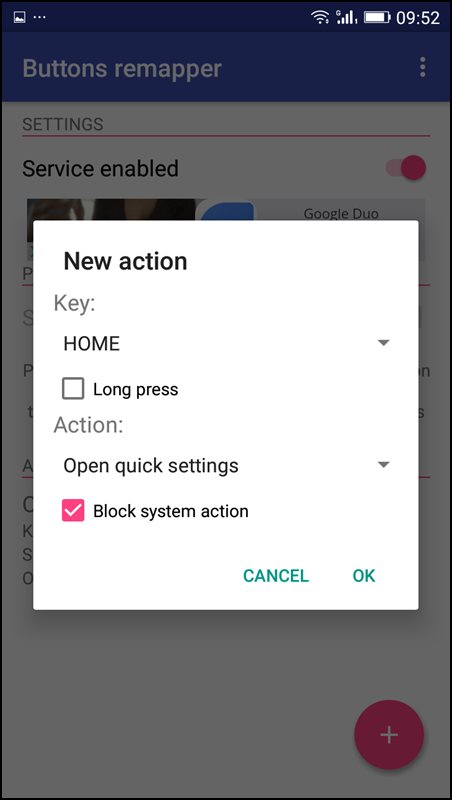
That’s it you are done! Now you have remapped your Android hardware buttons.
Also Read: How to Remove ‘Emergency Call’ Button from Android Lock Screen
Method #3 Using Button Mapper
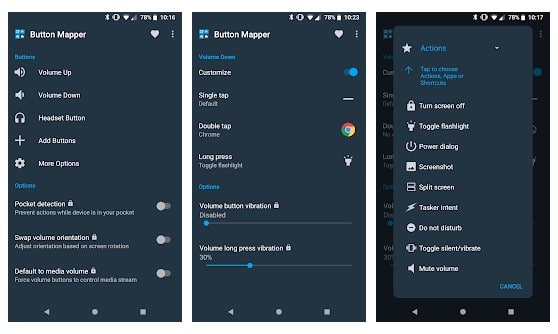
Button Mapper makes it easy to map custom actions to your volume buttons, home button, back, and recent apps keys. Remap your buttons to launch any app, shortcut or custom action. Assign custom actions to single presses, double taps and long presses of your phone’s hardware buttons.
Step 1. First of all, download and install the Button Mapper on your Android device.
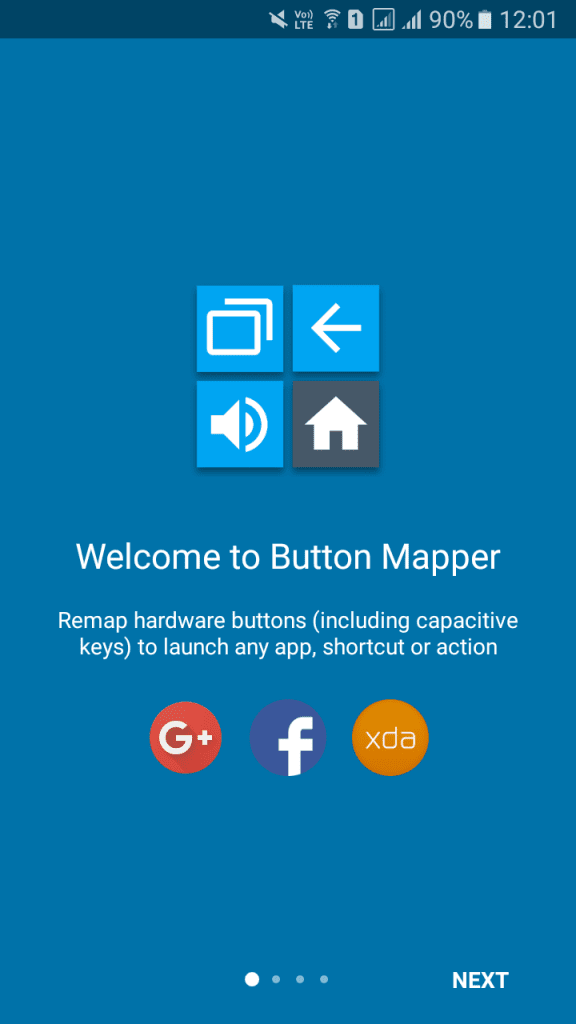
Step 2. Launch the app, and you will see the welcome screen of Button Mapper. Just, tap on next button and skip the welcome screen.
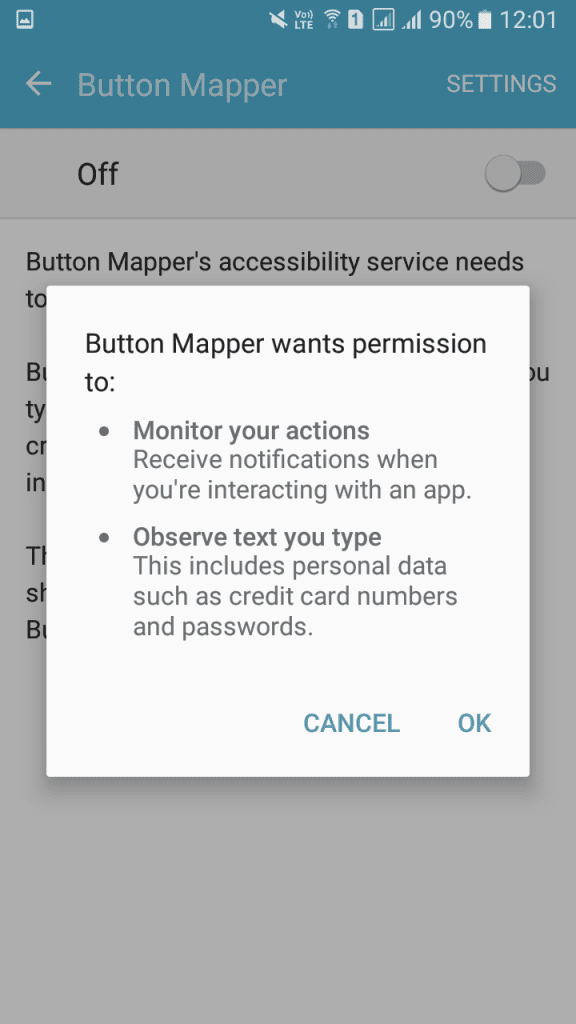
Step 3. Now you will be asked to grant permissions to Button Mapper. Simply enable it and tap on “Ok.”
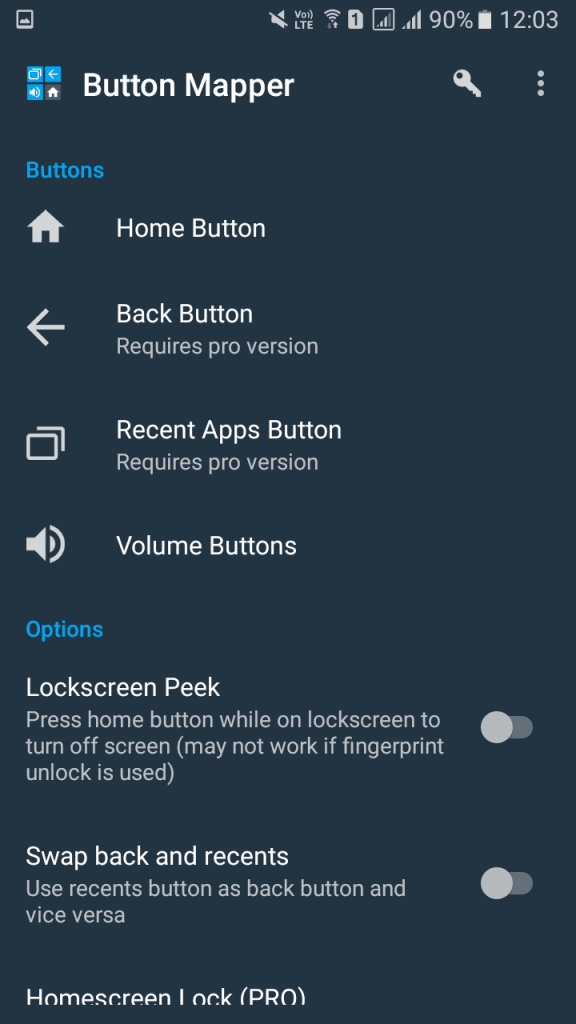
Step 4. Now you will get to see the home screen of Button Mapper. Simply select the option from the mentioned list.
Step 5. Now whichever button you want to customize, you need to enable it and start setting the actions.
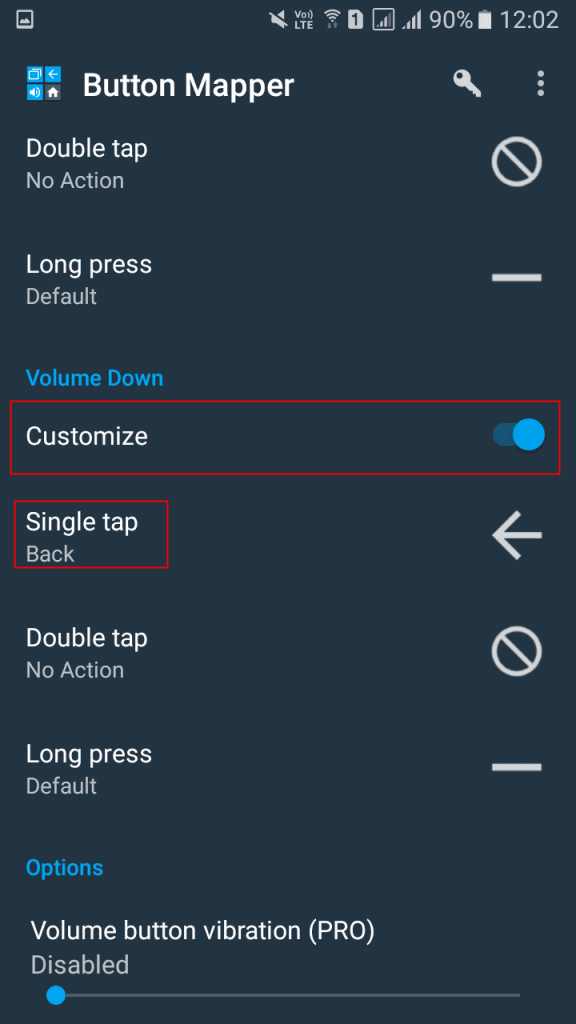
That’s it! You are done. This is one of the easiest methods to remap your hardware keys.
So above is all about how to change the working of hardware buttons on Android. If you know any other method to change the workings of hardware buttons, let us know in the comment box below. I hope this article helped you! Share it with your friends also.
The post How To Change Working Of Hardware Buttons In Android appeared first on Tech Viral.
from Tech Viral https://ift.tt/2liC9xJ
No comments:
Post a Comment