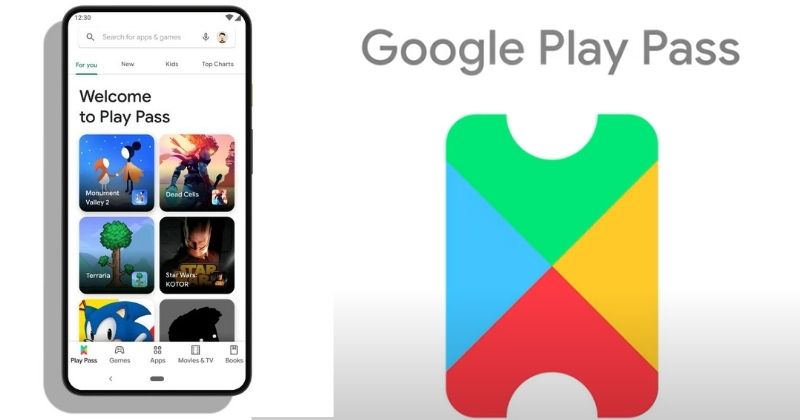
Google has launched Play Pass in India over two years after its launch in the US. Google Play Pass is rolling out to Android users.
Google Play Pass is a subscription service that offers more than 1000 apps without showing ads. The apps are in 41 different categories from developers of 59 countries.
This service is now available in 90 countries. All the users can access many apps and games without ads, in-app purchases, and upfront payments. The Play Pass has different subscription options like monthly or yearly.
Google Play Pass Is Now Available in India
Apple Arcade is a similar service that provides an ad-free experience on many games, which is especially available for iPhone, iPad, iPod touch, Mac, and Apple TV.
There are 15 Indian developers whose titles are available on Play Pass. It brings games like Jungle Adventure by Rendered Ideas and World Cricket Battle 2 by Creative Monkey Games.
The company will continue to work with global and local developers and will keep on adding new apps and games. The developers are given a dedicated webpage from where they can nominate their titles for the service.
Google Play Pass Subscription Price
Play Pass service offers a one-month free trial, and then you need to pay money to use the service. The price for one month is Rs. 99 and for a year Rs. 889. Also, there is a prepaid one-month subscription for Rs. 109.
However, the subscription can be shared with up to five other family members in the Google family group.
How to Use Google Play Pass in India?
Once the service is available, you can start the free trial. Follow the steps to start using Play Pass:
Open Play Store app on your Android device
From the top right corner, click on the Profile icon
Now, from the list, select the Play Pass option.
Click on Get Started.
Make sure your device is running on the latest Android version and also Google Play app version 16.6.25.
On Google Play, you will see a dedicated tab of Play Pass to access the apps and games. There is a huge collection of titles, from games like sports puzzles to games like Monument Valley and more.
It’s said, Music has the power to heal our mind. It doesn’t how stressful the situation is; music has something to give to chill your mind. You will find a variety of MP3 music on music streaming services.
There are hundreds of music streaming services out there that let you stream unlimited music. However, most of the music streaming services required paid subscriptions. Popular music streaming apps like Spotify, Gana, etc., does allow users to stream free music, but they don’t offer downloading option.
There might be various reasons why you would want to download music. Maybe you want to replay the music multiple times or want to listen to music without an internet connection. Whatever be the reason, you can download music on your Android with the music downloader apps.
List of 10 Best Android Apps For Downloading Music
This article will share a list of the best Android apps that let you download music. Most of the apps were free to download and use. So, let’s check out the best music downloader apps for Android.
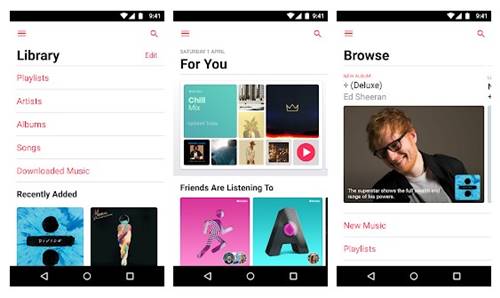
Spotify is right now the most famous music streaming app available for Android, iOS, and the web. With a Spotify premium subscription, you can download any song, album, or playlist for offline playback.
Spotify offers superior audio quality and better features than other music streaming apps. However, keep in mind that you will lose access to all offline data if you cancel the Spotify premium subscription.
Apple Music may not be the best option for Android users, but it’s still has a huge collection of songs and offline listening features. However, compared to Spotify, the plans of Apple Music were pretty expensive, and it didn’t have any free option either.
You can download your favorite music for offline playback with an Apple Music subscription. Apple Music also offers many audio-related features to enhance the music streaming experience.
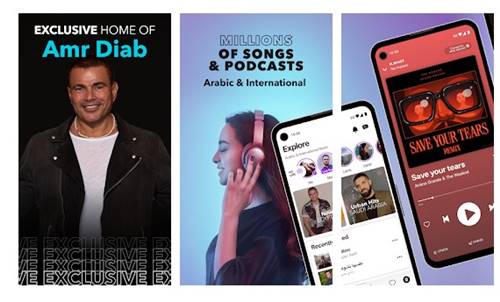
Anghami is a music streaming service that offers you access to unlimited music. It also sends you recommendations based on your listening style.
The premium version of Anghami allows you to download unlimited music for offline playback. Also, the paid version removes ads, offers unlimited skips, rewind, and more. Overall, Anghami is a great music downloader app that you can use today.
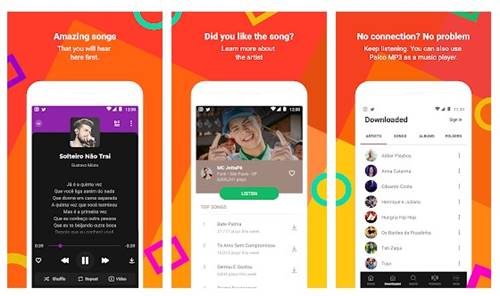
Palco MP3 is the biggest Brazilian website of independent artists now offers more than 1 million songs for you to listen to and download on your Android.
With this app, you can listen to radios from many different musical styles, discover more than 100.000 new artists and create playlists with your favorite songs.
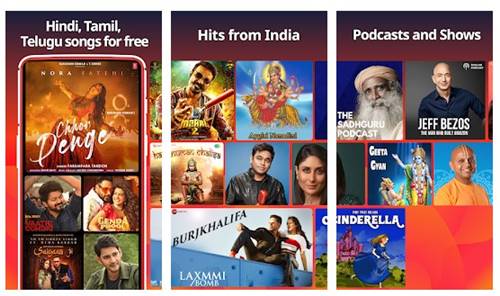
Gaana is the one-stop solution for all your music needs. The music app offers you free, unlimited access to all your favorite Hindi Songs, Bollywood Music, Regional Music & Radio Mirchi – on your mobile phone, no matter where you are.
If we talk about the MP3 download feature, the Gaana Plus subscription allows you to download unlimited mp3 songs for offline listening. Also, the Gaana Plus subscription offers a high-definition and ad-free music experience.
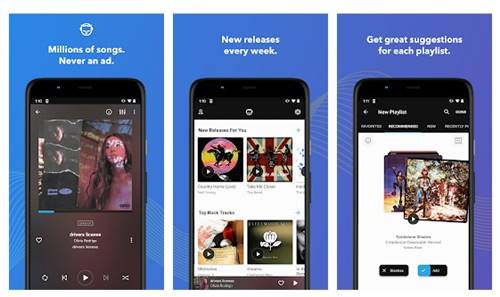
If you are searching for a music streaming app that lets you stream music on=demand and download music for offline playback, then look no other than Napster Music.
Napster Music is a premium app, but it offers a 30-day free trial. With the trial account, you can access over 60 million songs. Provided it’s a premium app, it’s completely ad-free and allows you to download unlimited music.
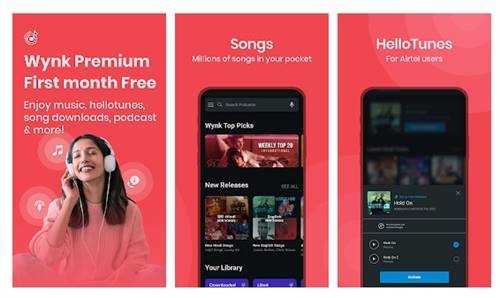
Wynk Music has over 2.5 million songs across Indian and International music. Enjoy its huge music library covering all genres- Bollywood, Pop, Rock, Bhangra, Devotional, Emotional, Romantic, Party, Old Romantic retro songs.
The Wynk Subscription offers you unlimited in-app song downloads to play offline. So, with Wynk Music, you don’t need another music downloader to download music.
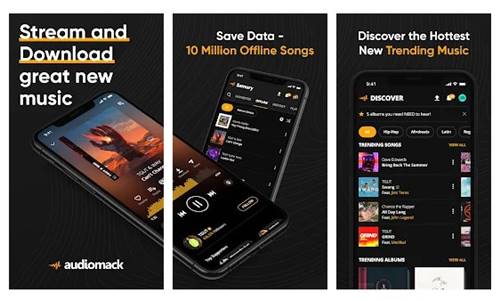
Audiomack provides streaming and free download access to the newest and hottest tracks right at your fingertips. In addition, the free music download feature allows you to play your favorite songs & mixtapes offline.
With Audiomack, you can even find and stream new or trending music. Since it allows you to download music for offline playback, it also saves your mobile data.
This is a download manager and has no links with music. However, this app can download music for you. Suppose you want to get an mp3 from a website that doesn’t provide the download link; you can use ADM to download it easily.
Apart from the music files, ADM can download almost all types of downloadable files from a webpage. It also allows you to pause/resume ongoing downloads.
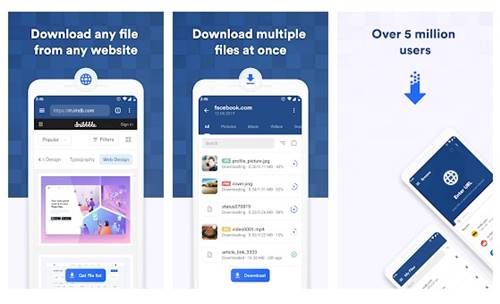
GetThemAll is another popular download manager app for Android on the list. The app basically adds a download button behind every downloadable link on the internet.
That means that you can easily download videos, mp3, image files, PDF files, and more from any website with GetThemAll. It also supports downloading multiple files simultaneously.
So these are the best music downloaders for Android. I hope this article helped you! Please share it with your friends also. Also, if you know of any other such apps, let us know in the comment box below.
There’s no doubt that Android is the most popular mobile operating system right now. Compared to every other mobile OS, Android provides users with far more features and customization options; however, if any other mobile OS that manages to give tough competition to Android is iOS.
Just like Android, app availability is relatively high on iOS also. Just take a brief look at the iOS app store; you will find apps for different purposes. Sometimes, we want to run those applications on our computers or laptop.
List of 10 Best iOS Emulators to Run iOS Apps On PC
Since iOS doesn’t have any built-in feature to emulate apps on PC, you can use iOS emulators to emulate the apps on Windows or MAC computers. This article will share some of the best iOS emulators to help you run iOS apps on a PC.
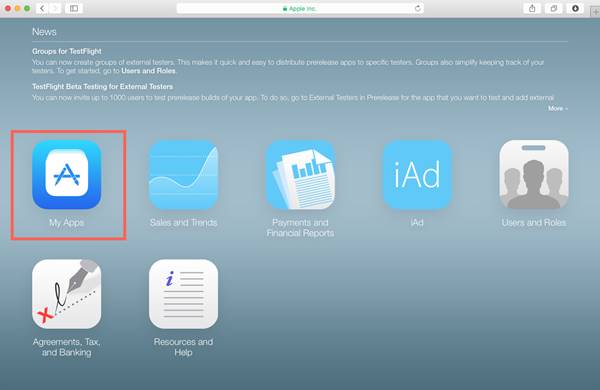
Well, if you are an iOS app developer, you might find Xamarin TestFlight very helpful. It’s basically an iOS emulator for PC that runs very smoothly. Now, it is owned by Apple itself, and it provides you with lots of useful emulator features.
However, on the downside, the iPhone emulator for PC is only compatible with iOS 8.0 and above. On the other hand, Xamarin TestFlight is entirely free to download and use.
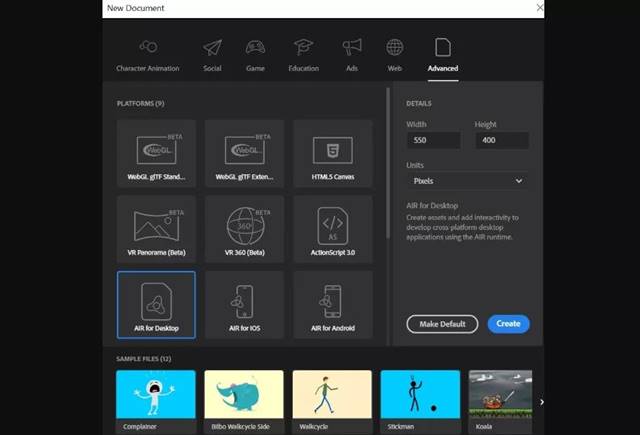
Technically, Adobe AIR is not an emulator; it’s a developer tool that allows testers to get a feel for what an app will look like in an iOS ecosystem. It’s basically a framework that lets you create new instances of the iOS GUI on a Windows PC.
On the downside, you get hardware replication limits. That means what you see in AIR iPhone may not be what exactly renders on an actual iOS device. Still, Adobe AIR is a great iOS emulator for testing apps.
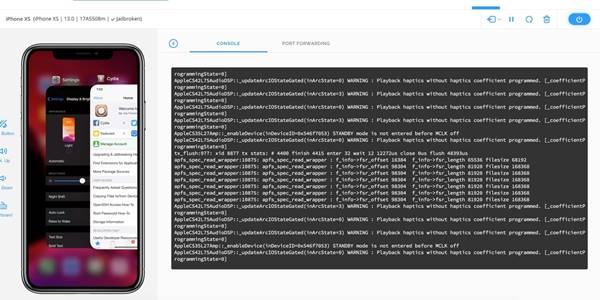
Corellium is basically a virtual device platform that runs on ARM servers in the cloud. Security researchers mostly use the platform to run a simulated iOS device within the browser.
It’s not exactly an emulator, but it’s iOS virtualization software that individuals can use. However, getting the tool and setting it up could be a challenging & complicated task.
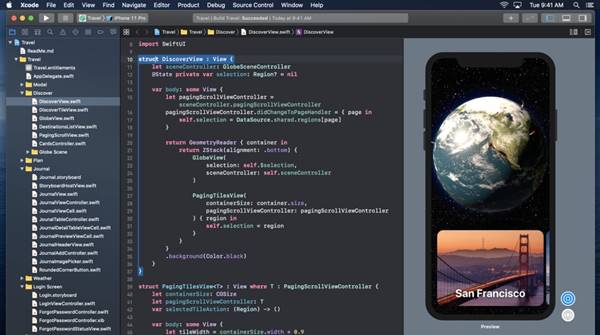
Xcode is a pretty popular and great iOS emulator built in for testing purposes. If you are an iOS developer, you might have already used Xcode on your Mac to build or test your apps.
The great thing about Xcode is that it lets you run your apps on a virtual device instead of deploying them on In addition, a physical device. Xcode offers you an option to select from various devices and screen sizes. Not only that, you can even select different iOS versions as well.
This is one of my favorite emulators because of its simplicity and user-friendly interface. This is an Adobe AIR application that reproduces the iPhone’s GUI on your PC. You just need the AIR framework for this application to work.
AIR iPhone’s sole purpose is to replicate the graphical user interface of the mobile phone. There are many uses that I can think of in this application.
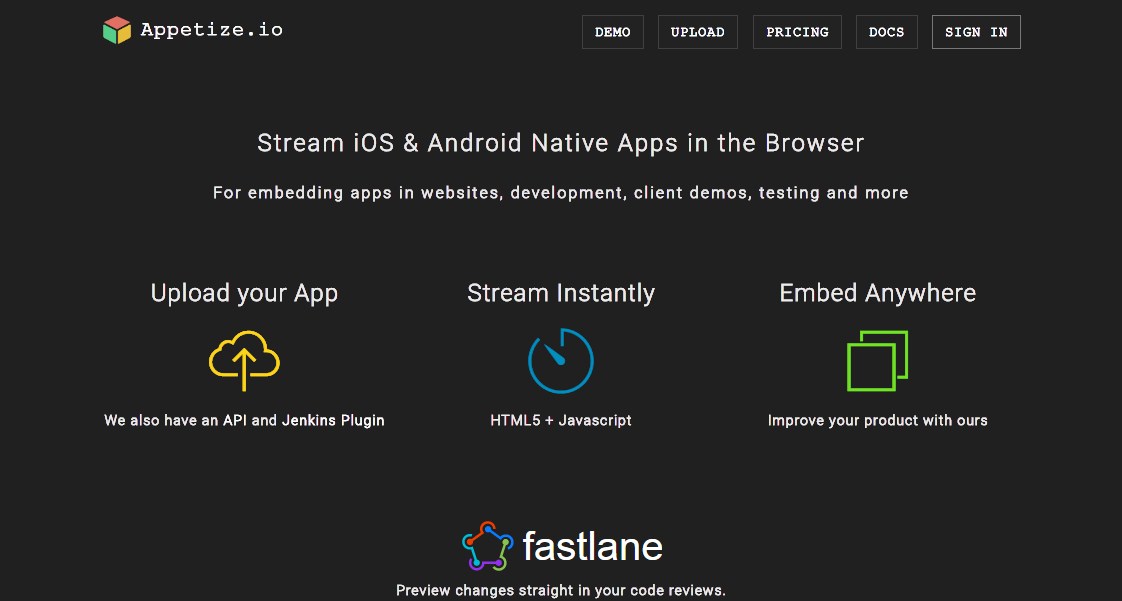
Appetize is another great online iOS emulator that works almost like the offline emulator. The great part is it’s a free emulator that will support the Adobe AIR framework. Once you launch this software, you need to click on the Upload option on the homepage to emulate iOS apps in your Windows.
Since Appetize.io is cloud-hosted, you don’t need to install any app on your computer. With Appetiz.io, you can access iPhones, iPhone 11 Pro Max, and a couple of other iPhones and iPad as well.
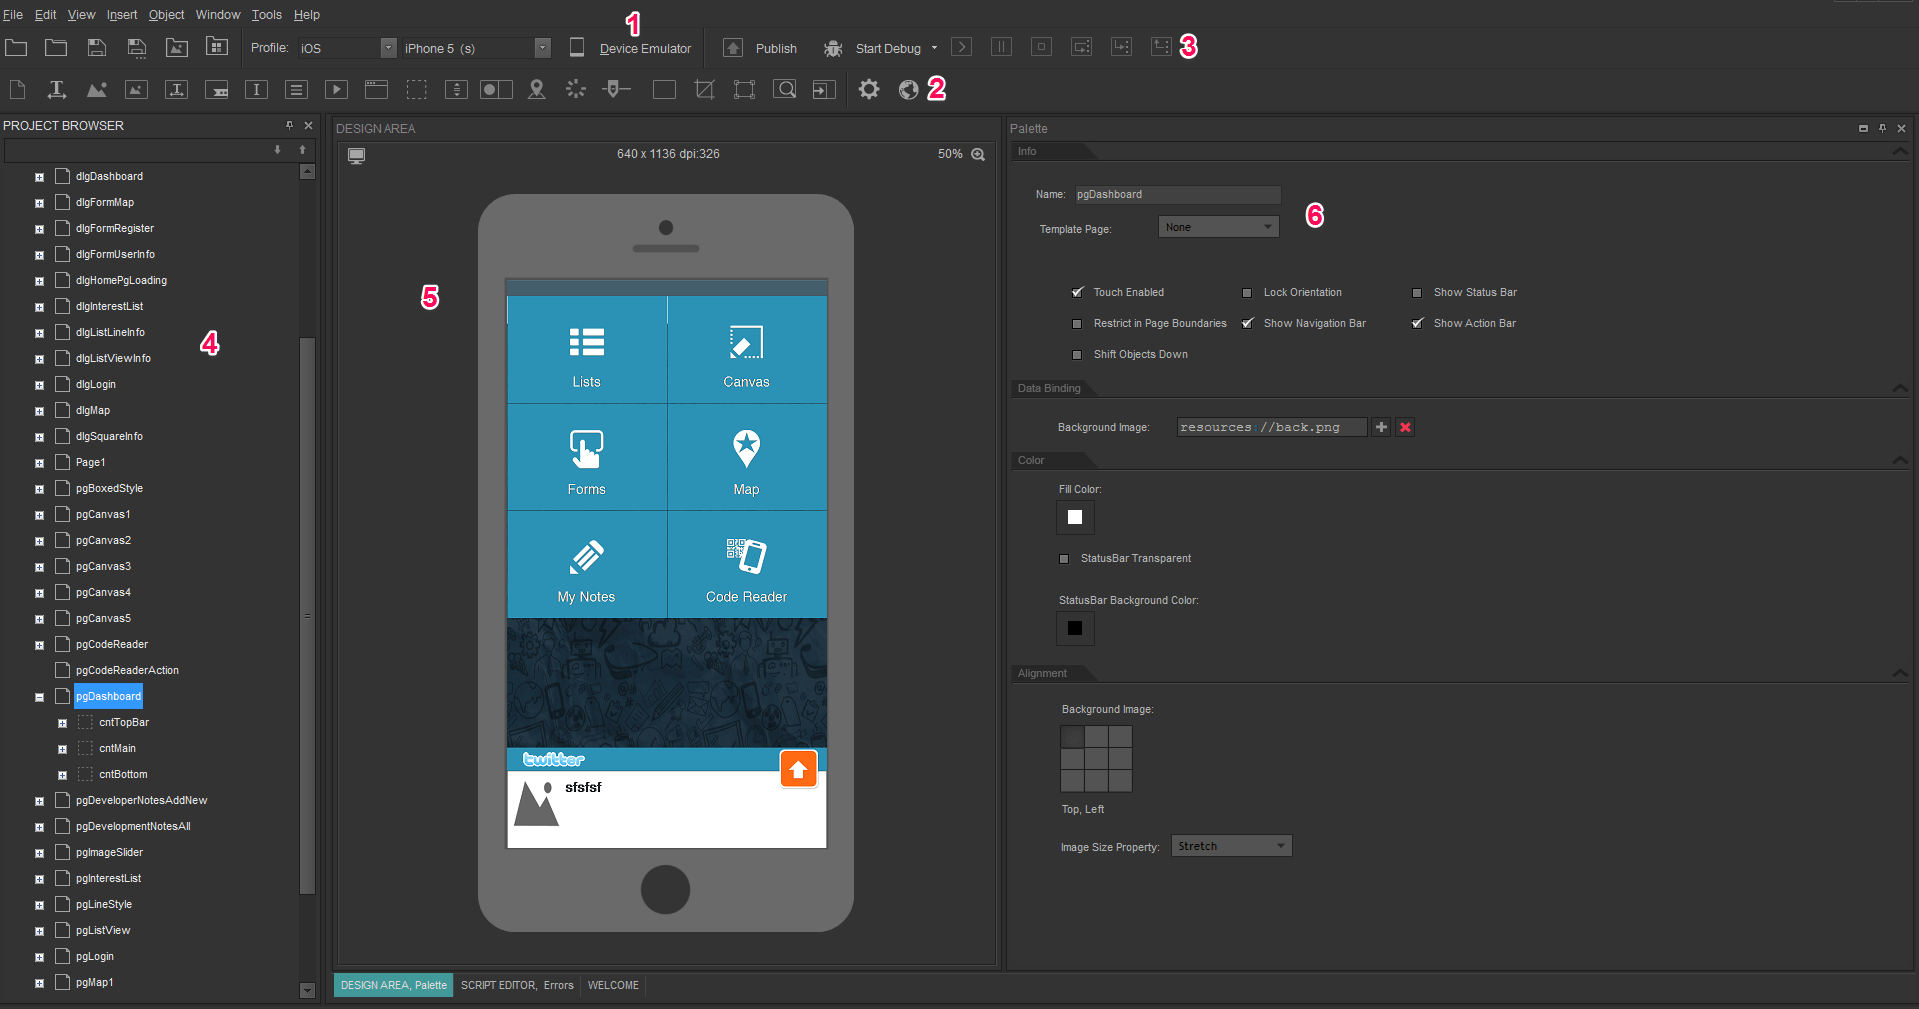
Well, Smartface is not exactly an iOS emulator. Instead, it’s a dedicated software suite for app developers. Smartface is mainly used by developers to test their existing applications or create a new ones.
The good thing about Smartface is that it supports all frameworks such as Objective-C, Swift, Java, Kotlin, React Native, Ionic, and more. It can be used to emulate ios smartphones as well.
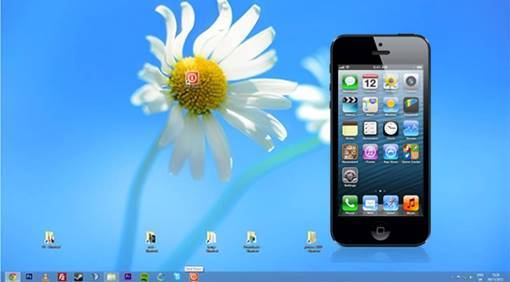
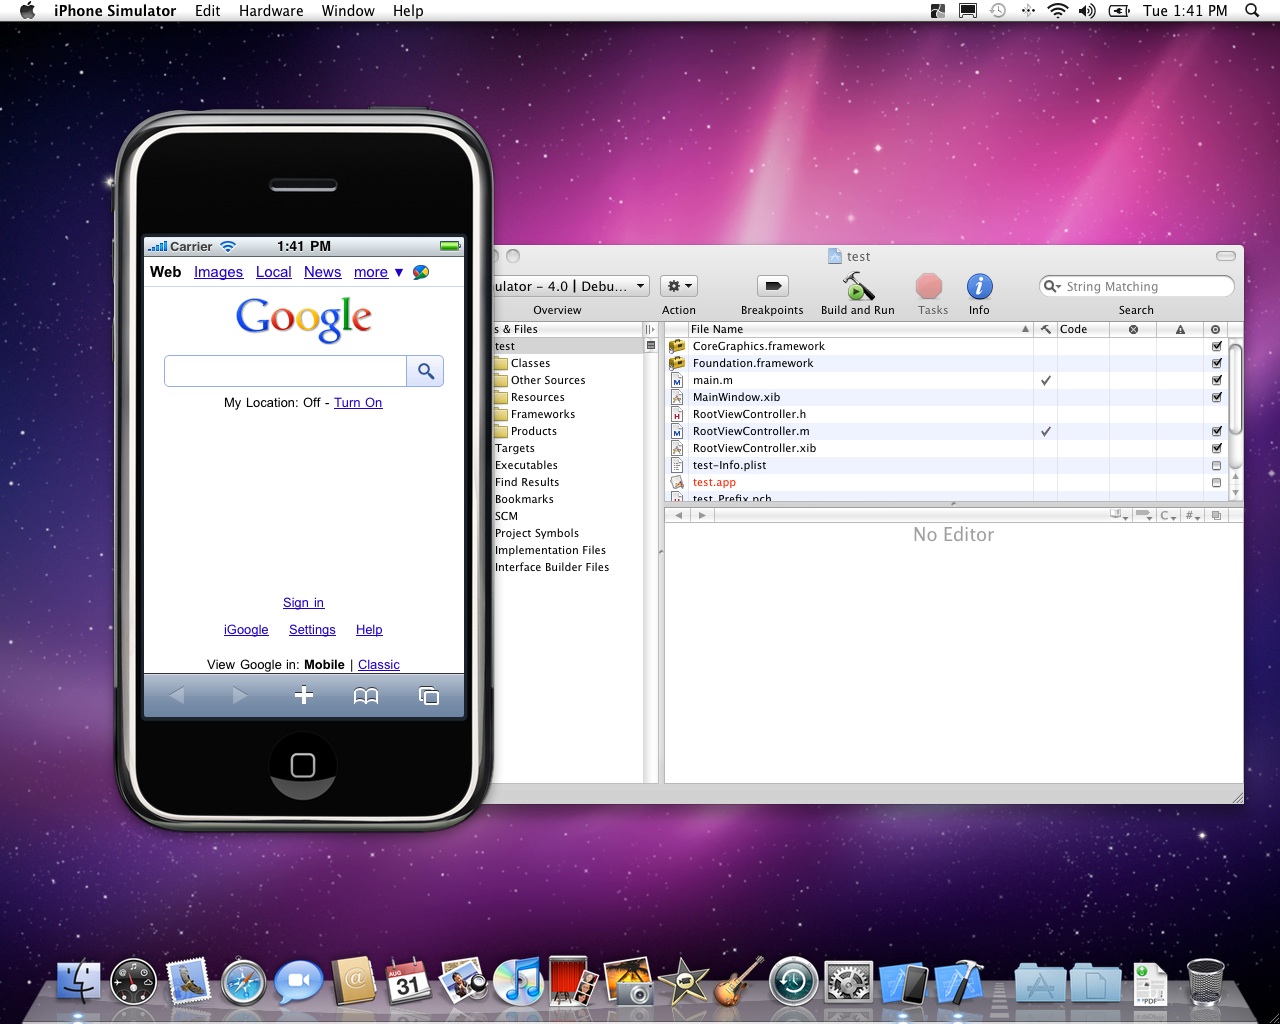
iPhone simulator is for those who need to create a virtual iPhone on their desktop in minutes. You will get to see the real iPhone on your desktop.
However, if you need to test any app, you will be disappointed because this doesn’t have access to the App Store. However, you can access default apps like notepad, clock, calculator, etc.
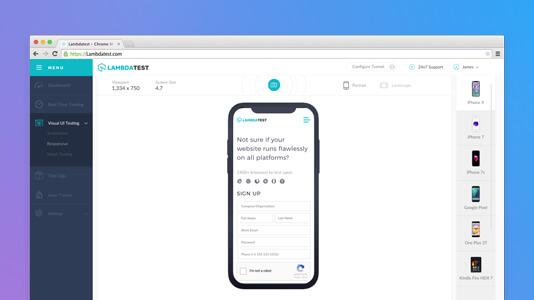
LambdaTest is basically a web-based tool that’s designed for app developers. The platform allows app developers to test their native IOS apps using a simulator. Although LambdaTest can’t be considered for experiencing iOS apps on Windows, it can still be used for testing purposes.
The user interface of LambdaTest is very clean and lightweight, and it allows you to upload your iOS app with a single click. Once uploaded, you can instantly start testing the iOS app on any iOS version.
Well, iPadian is not an iOS emulator, but it’s an iOS simulator that you can use on your PC. Since it’s a simulator, you won’t get the much-needed thing – App Store. It provides you access to 1000’s of apps, including Facebook, WhatsApp, Twitter, and more. So, if you want to get an iPad experience on your PC, you can give this one a try.
The only drawback of iPadian is that it’s a completely paid solution, and it doesn’t even offer any free trial. This is the only reason we have listed this one at the very end of the list.
So above are the Best iOS Emulator to Run iOS Apps on PC. You can try all the emulators in your PC one by one and then select one that suits you the best to run your favorite iOS app on your PC. I hope you like our work, do share it with others too. Leave a comment below if you have any related queries with this.
Recently, Apple is under heavy scrutiny due to its latest product called theAirTag. The gadget was initially intended used as a key, wallet, or luggage finder but now it’s used in criminal activities to follow people’s activities without their knowledge. Despite this fact, Apple has created a sophisticated anti-stalking system to avoid abuse. It still remains a concern.
The app was first released in August 2021, and it now has a user base of 120,000 users. The researchers at the Technical University of Darmstadt’s Secure Mobile Networking Lab developed this app. It can identify any Find My device and even self-made ones like cloned or modified AirTag.
It also claims to identify AirTags on an Android handset while it is operating in the background. The software monitors your surroundings for possible tracking devices, such as AirTag. You’ll get a notification in less than an hour if a gadget is following you!
How Does The AirGuard Android App Work?
It’s up to you how you want to continue if you find the AirTag. Youcan touch and hold an Android phone with NFC support while the AirTag is accidental with you andtheLost Mode is activeto retrieve information.
If the AirTag is being used to monitor you, you can tapit to see the serial number. This can be beneficial if you’re thinking about calling law authorities. You may also get the serial number by removing the rear cover and looking inside the AirTag.
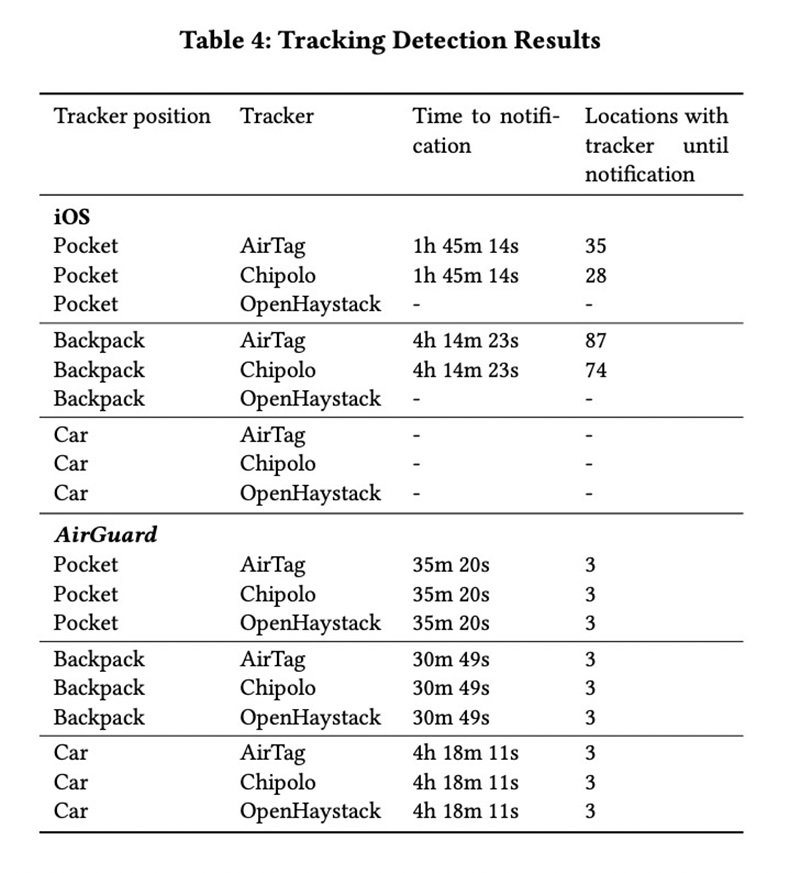
“The evaluation showed that AirGuard found more actual trackers in different scenarios compared to the iOS tracking detection,” the researchers said in a report published this week.
Source: (Arxiv.org)
If the app detects an AirTag that has been following you for at least 10 minutes. The app will allow you to play the AirTag’s sound to help you locate the actual tracker. With AirGuard you get the anti-tracking protection you deserve!
The app periodically scans your surroundings for potential tracking devices, like AirTags or other Find My devices. The AirGuard app is available for free via the Google Play Store.
Being the most popular video streaming service in the world, Netflix offers you a wide range of useful & interesting features. With a Netflix monthly subscription, you can watch countless hours of video content.
Sometimes you might want to speed up a movie or episode while watching Netflix. You may have your own reasons for doing so, such as wanting to watch films & TV Shows more quickly, or you have watched the movie already and just want to recall the plot
Whatever might be the reason, Netflix allows you to change the playback speed for videos in easy steps. You can use both Netflix’s web version and the mobile app to change the Playback speed of a video.
Steps to Change the Netflix Video Playback Speed (Desktop & Mobile)
Hence, in this article, we will share a step-by-step guide on how to change the video playback speed on Netflix for desktop & mobile. These steps will be straightforward; just follow them as we have mentioned.
1) Change Video Playback speed on Netflix for Web
If you use Netflix from your desktop web browser, you need to follow these steps to change the video playback speed. Here are some of the simple steps you need to follow.
1. First of all, open your favorite web browser and head to the Netflix website.
2. Now, select your Netflix profile and open the video you want to watch.
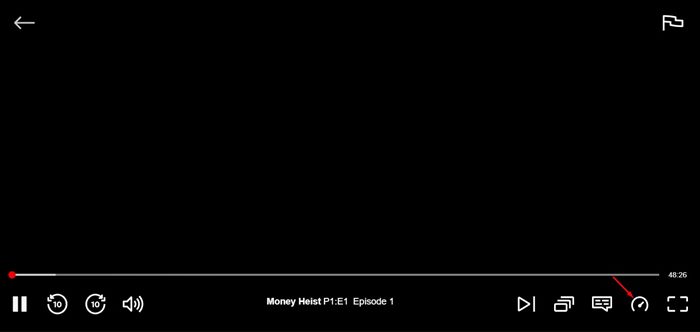
3. Once the video loads and starts playing, move your cursor to reveal the media player controls.
4. Now hover your mouse cursor over the speedometer icon on the bottom-right corner.
5. Now, you will see a window allowing you to set the Playback speed. Simply select the speed preset to increase or decrease the Netflix Video speed.
That’s it! You are done. This is how you can change the video playback speed on Netflix for desktop.
2) Change the Video Playback Speed on the Netflix Mobile app
The ability to adjust the playback speed is also available on Netflix’s mobile app. However, please update the Netflix app on your Android or iPhone before using the playback speed tool on Netflix.
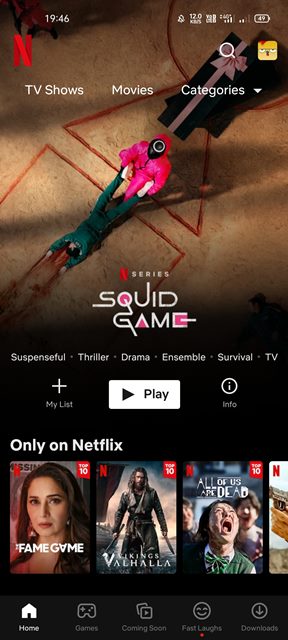
1. First of all, open the Netflix app on your Android device.
2. Now open the video which you want to watch.
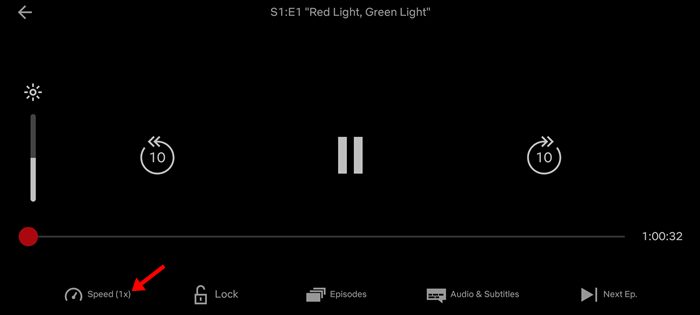
3. You need to tap on the Speed button, as shown in the screenshot below.
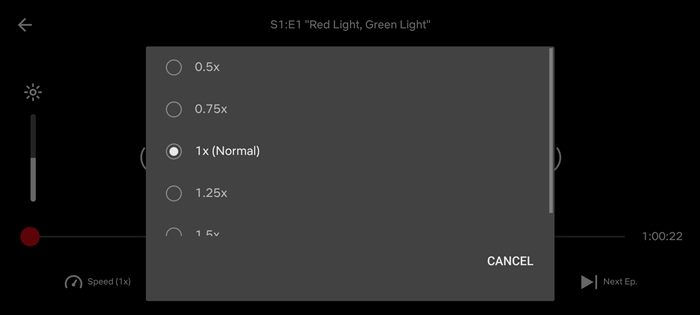
4. This will reveal Netflix’s Playback speed tool. Next, choose the appropriate video speed.
That’s it! You are done. This is how you can change the playback speed for videos on Netflix mobile app.
It’s pretty easy to change the video playback speed on Netflix. Netflix provides you with five different speed options to increase or decrease the video speed. I hope this article helped you! Please share it with your friends also. If you have any doubts related to this, let us know in the comment box below.
Elden Ring’s PC version had a lot of issues till now. But, Now developers have launched a new patch with that patch, developers are claiming that the problems are fixed now.
Elden Ring is one of the best games by FromSoftware, but many players have experienced bugs, glitches, and other issues. The game is released on Steam on 25 February and was cracked by a pirate group on the day of its launch.
One of the main issues most of the players faced is an error that prevents them from starting the game properly. However, the developers have released a patch 1.02.1 that fixes the issue.
Elden Ring: How to Fix Performance and Common Issues
The announcement of a patch fix was made via Twitter that shows the patch is available for PC and PS5.
Patch 1.02.1 for PC and PS5 available now.
PC Start-up issues related to Easy Anti Cheat (EAC) have been improved. Mouse operation improved. Reduced number of files needed to load when entering a new area.
PS5 Fixed a bug that caused certain unexpected game closures.
Once you download the patch, it will resolve the errors, and the game Elden Ring will start working properly.
This patch has also fixed the issues related to mouse input and also has reduced the number of files needed to load while entering the new area. This will make the game run smoother even if you have poor performance PC.
How to Fix The Invisible Enemies Glitch?
Mostly this error occurs on less powerful PCs that doesn’t meet the RAM requirements. Let us check out how to fix it?
Just restart your game.
Load the game which you earlier saved.
Update the GPU drivers and verify the integrity of your game file through Steam.
Now, reinstall the game.
How to Fix Controller Connection Errors?
There are many players who are reporting about controller connection. The game is unable to recognize the controller plugged in.
So, make sure you use the compatible controller and also check whether Windows is properly recognizing it or not. For this, open Control Panel >> Devices and Printers >> PC recognizes your controller.
If the PC doesn’t recognize your controller, then try to unplug it and plug it back.
If not, you can try out the following steps:
Restart the game, or restart your PC/ game launcher.
If you have any third-party controller programs, uninstall it.
From the Steam settings Menu, enable “Xbox Configuration Support ” and “Generic Gamepad Configuration Support”.
Try to disable the Steam Overlay.
Unplug your mouse and Keyboard.
So, these are a few of the fixes of Elden Ring PC. The rest of the errors can be solved by updating with the patch fix released by the developers.
American Multinational Technology company NVIDIA has suffered from malicious network intrusions. As reported by the company of experiencing some outages over the past couple of days and had to take down several systems offline to prevent them from spreading further. There are speculations regarding the launch of this cyberattack on NVIDIAby Russians. As a result of major sanctions imposed on Russia due to the ongoing Russia-Ukraine conflict.
However, the company did not confirm any kind of cybercriminal activity related to the Russia-Ukraine conflict. As per reports, NVIDIA stated it’s “investigating an incident,” but did not confirm. Whether it’d been the victim of cybercriminal activity or not. The company’s servers are also partially operated. Hence, there might have been a breach of confidential documents and information of the company.
Several other western countries are on alert. Regarding any kind of cyber-attacks, they might experience in the coming days. However, this cyber attack might result in a huge loss to NVIDIA in terms of breach of confidential information across the world.
Cyberattack On NVIDIA
In the era, we live in today it can conclude that no country or organization is safe from any such cyberattacks. Prevention against such cyberattacks is crucial for any country in terms of its confidential information. There is a need for every country to build and maintain infrastructure and adopt technologies. This will help to prevent any such attacks.
Nvidia is best known for making graphics processors, but it has established itself in other critical areas like machine learning and cloud services. Making the company a larger national security exposure than in the past. The company is a leading manufacturer of high-end graphics processing units (GPUs). The headquarters of NVIDIA is in Santa Clara, California.
NVIDIA became a major force in the computer gaming industry with the launch of the RIVA series of graphics processors and has acquired 15 companies, including 3 in the last 5 years. A total of 4 acquisitions came from private equity firms. The Company’s most targeted sectors include semiconductors (29%) and technology hardware (29%).
Let’s admit; the internet world is evolving at a rapid pace. These days, we are now very dependent on our smart devices like smartphones and computers. A few years ago, only laptops & computers were there to guide students in their work, but things have changed now.
These days, students can rely on smartphones to find important information. So, if you are a student and have an iPhone, you can utilize a few apps to excel in the study field.
List of 10 Best iPhone Apps for College Students
Hence, in this article, we have listed a few best iPhone apps for college students. All of the apps listed in the article were free to download and use. So, let’s check out the best iPhone apps for college students.
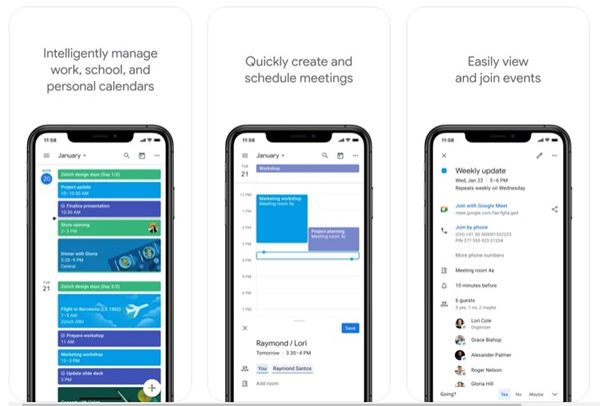
The official calendar app for Android is also available for iPhone or iPad. If you are a college student, you will need a perfect app to organize your busy schedule, and this is where the Google Calendar helps.
With Google Calendar, you can easily keep track of your deadlines, club meetings, and classes. Even the app can be integrated with Apple Health to track your fitness goals. Overall, Google Calendar is a useful app that every College student should have.
Venmo is basically a payment app for iPhones that students may want to use. This is a free app that allows you to transfer money to and from your friends & colleagues.
Venmo offers you lots of helpful payment-related features like you can split the cost of a meal, request money from your colleague or parents, etc.
Other than that, Venmo can be used to buy crypto, do business, pay in stores, pay in apps, and more.
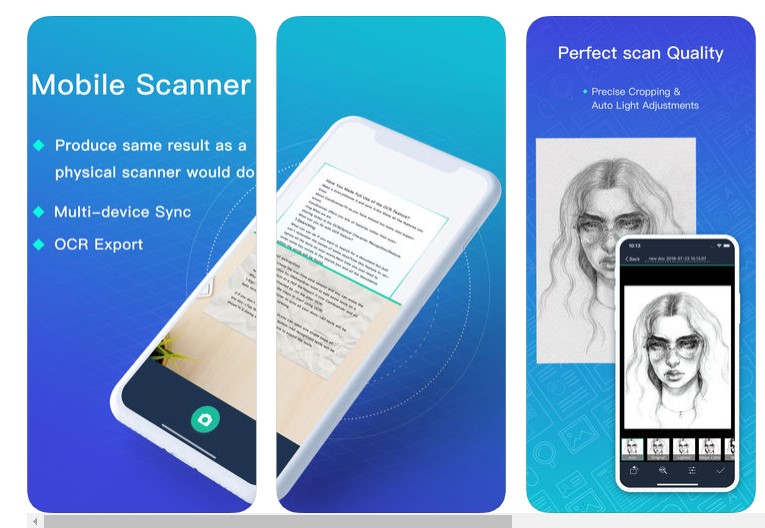
CamScanner is basically a text scanner application that lets you scan, store, sync and collaborate on various contents across smartphones, tablets, and computers.
By using this app, you can scan your important notes, assignment, and many more important documents from your iOS device, which will be helpful for later reference.
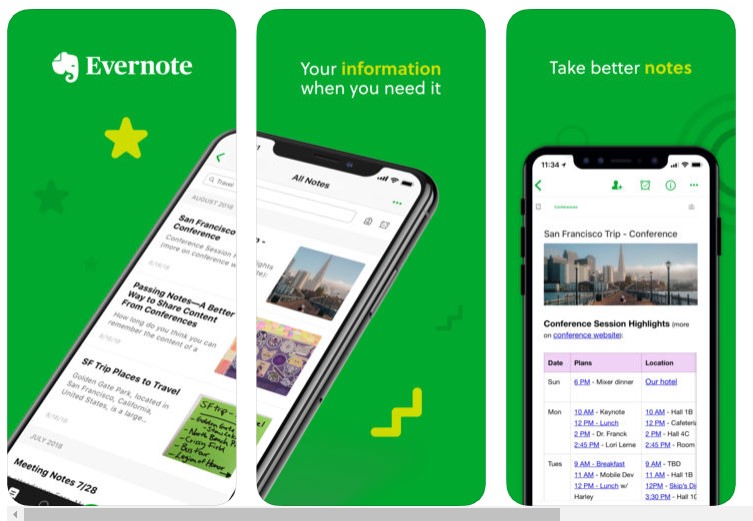
Evernote is the modern workspace that syncs between all of your devices. Work everywhere and stay productive. The app gives you the tools to share, discuss and collaborate productively with others.
Evernote for iOS has every feature that you need to become more productive. You can create notes, manage to-do lists, set timers, and more.
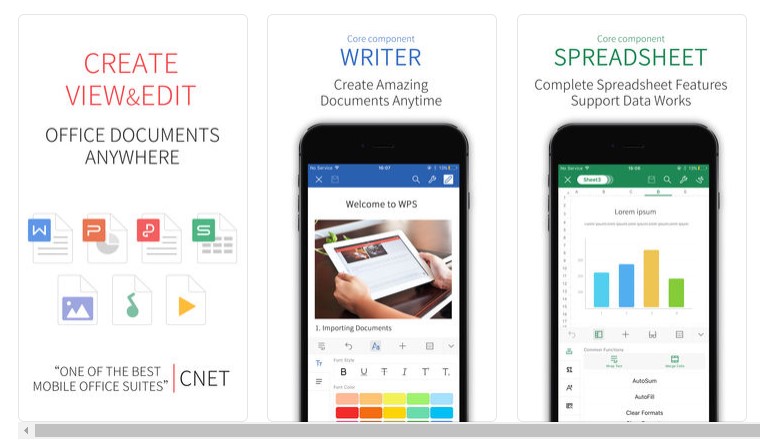
If you deal with many Microsoft Office files and PDFs, look no other than the WPS Office application. It’s a free application for iOS devices that can create or view Microsoft office files.
Also, it’s fully compatible with PDFs. You can even create new PDFs, sign PDF files, etc., with WPS Office + PDF.
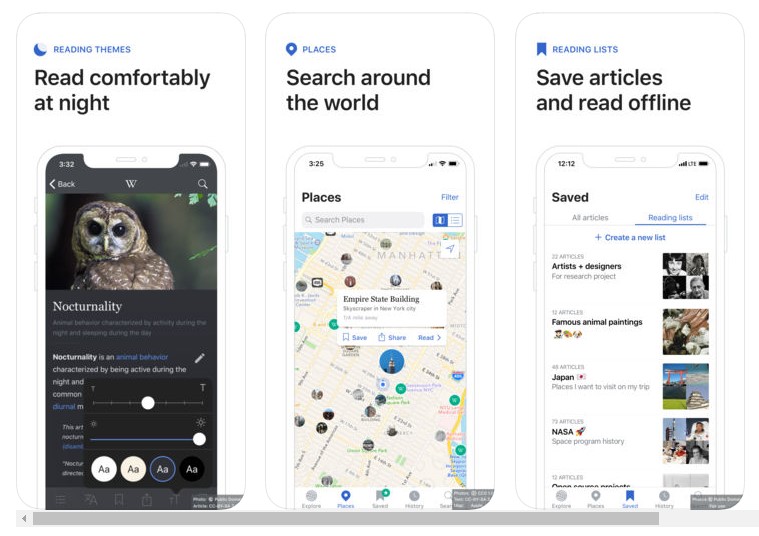
As all are familiar with Wikipedia and now there is Official Wikipedia App for iPhone. Wikipedia is the free encyclopedia containing more than 32 million articles in 280 languages.
It is the most comprehensive and widely used reference humans have ever compiled. Students can search out their topic from here and gain help in their studies.
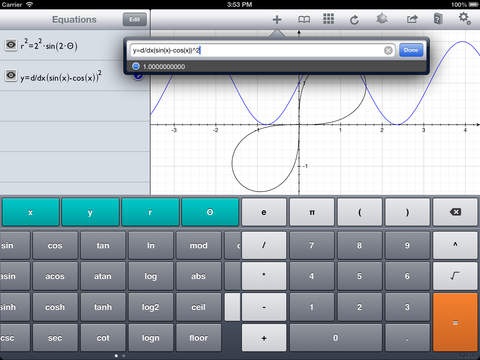
Quick Graph is the best graphics calculator available on AppStore. It is a powerful, full-fledged graphic calculator that takes advantage of the iPhone’s multi-touch display and powerful graphing capabilities.
The application makes it super easy to enter or edit equations and visualize them in mathematical notation.
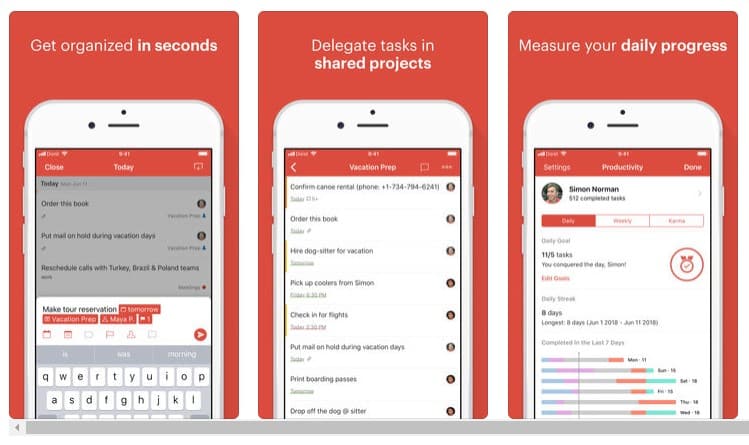
With this app, you can join the 4 million+ people worldwide who are accomplishing amazing things with Todoist – the beautifully simple to-do list and task manager built for the pace of modern life.
Whether you need to collaborate with your team, keep track of your most important projects, or remember to pay the rent, Todoist is there to help you achieve more every day.
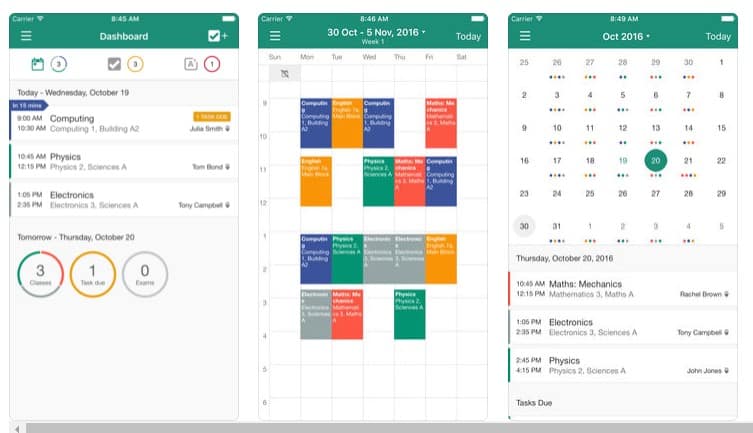
My Study Life is another excellent app for iPhone users that helps organize different things. The app is meant for students, and it can help them organize their classes, assignments, and exams with ease. The app also got the ability to sync data with various cloud storage services.
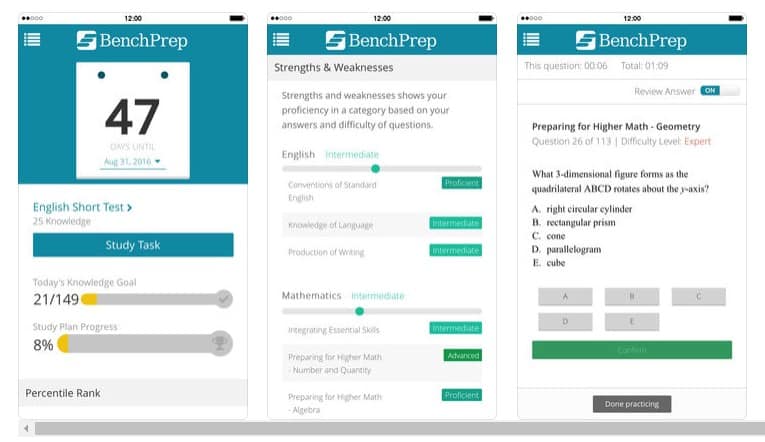
BenchPrep is one of the great iOS apps that every student would love to have. It’s basically a database of courses that will help you prepare for exams.
It has many study materials and hundreds of practice questions, flashcards, etc. BenchPrep is available for Android and iOS users, and it’s definitely the best app for college students.
If you are a college student, you might find these apps very useful. I hope this article helped you! Please share it with your friends also. If you know any other such apps, let us know in the comment box below.
Android emulators are basically programs that provide a virtual environment on your PC or desktop that works exactly like an Android. In this virtual environment, you can install any Android application and use it on your computer.
There are several valid reasons why someone would want to use Android emulators. A developer may want to try their application before sending it to its users or any app store.
Similarly, a gamer may want to use their mouse or keyboard to play, or maybe you just do not have an Android device, and you want to try the Android OS or some applications.
List of 10 Best Android Emulators To Experience Android On PC
Whatever the case, emulating Android on a PC or computer is something very simple to do, and here we will show you a list in which we will show you the top best Android emulators for PC.
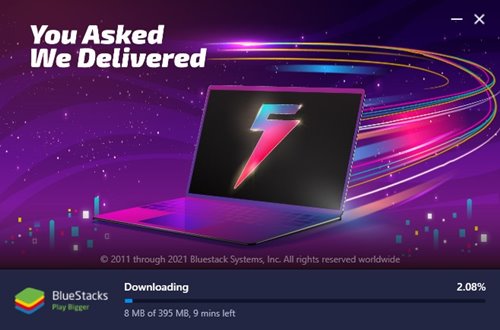
1. Bluestacks
BlueStacks is a popular Android emulator that is completely free to download. It was launched in 2011, and since then, it has extended the limits of the Android ecosystem.
Many users around the world started in the world of Android emulation simply by using the well-known Android emulator, BlueStacks.
Compared to other Android emulators for PC, BlueStacks offers you more features. It has every gaming feature you would expect, like custom game controls, MOBA mode, Script support, and more.
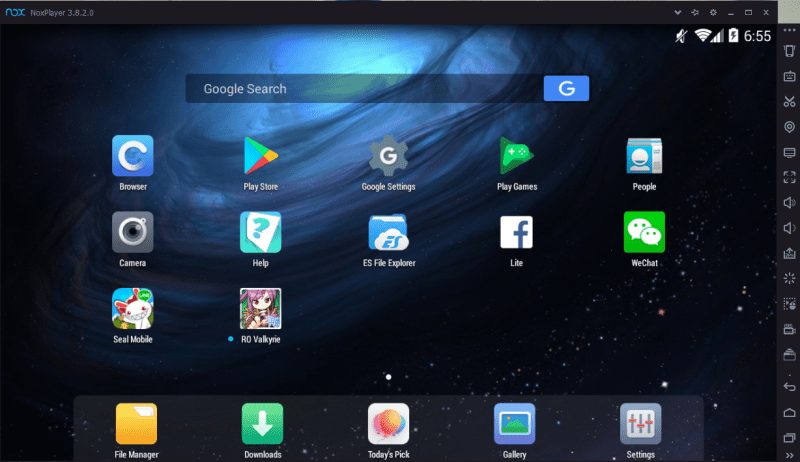
2. Nox Player
Nox App Player is one of the best and lightest Android emulators, and not only that as this emulator has a clean and tidy user interface. Besides, it also allows running games and heavy apps without losing performance.
Nox is compatible with a wide range of Android game controls. Also, Nox supports most of the games developed for Android. It also allows you to install the Play Store and other third-party Android apps.
The emulator is based on version 4.2.2 of Android (JellyBean) and is compatible with Intel and AMD processors.
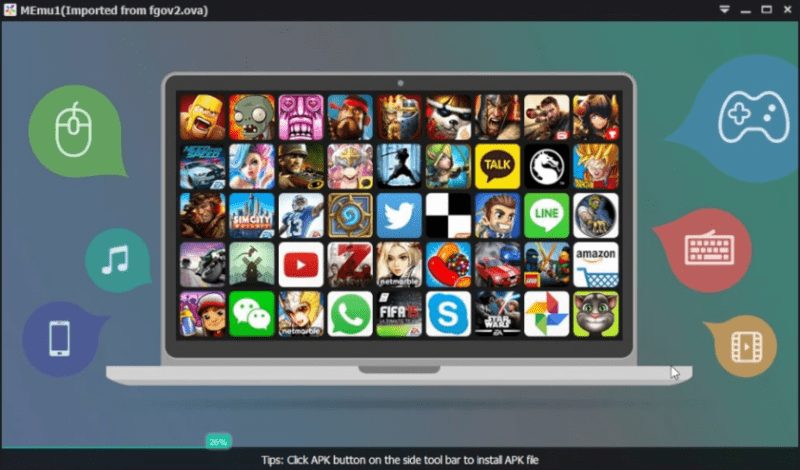
3. MEmu
MEmu is an Android emulator for a computer with excellent performance in terms of games. It is compatible with all versions of Windows from Windows 7 and supports all the latest graphics chips and cards from Intel, AMD and Nvidia.
Moreover, this emulator also supports keyboard, mouse, and Xbox/PS drivers. MEmu only provides compatibility with Android Lollipop.
MEmu offers a simple way to install apps: just drag and drop the APK into the emulator’s interface that’s it and then you can install any applications or games you want.
In addition, MEmu allows you to run other Android emulators simultaneously, which is quite convenient.
4. LDPlayer
LDPlayer is another best free Android emulator on the list that can easily handle almost every major game title. Compared to BlueStacks, LDPlayer is better optimized for performance & stability.
It doesn’t slow down your system while emulating games. The good thing about LDPlayer is that it uses Virtualization technology to give great gaming performance on integrated & dedicated graphics.
Other than that, LDPlayer is known for its gaming-related features. For example, with LDPlayer, you get the option to set custom control, run multiple instances of the same app, support macros/scripts, and more.
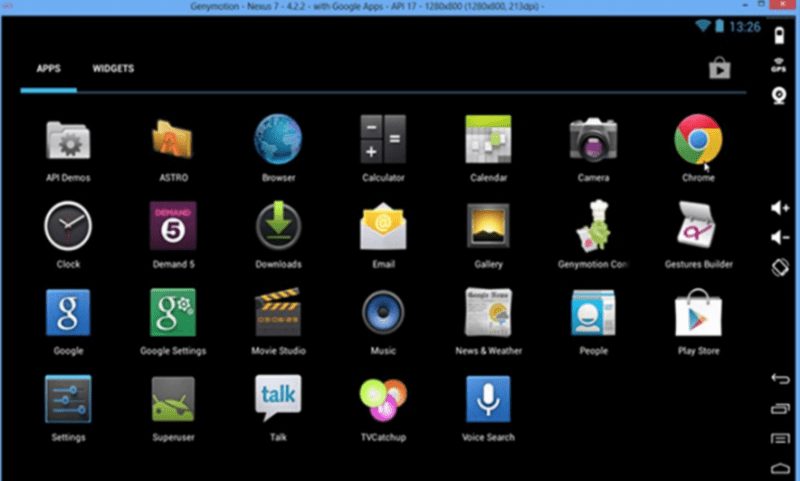
5. Genymotion
If you are a developer looking for an Android emulator to test your app or game, then the well-known Android emulator Genymotion is for you. Basically, this emulator is very popular among developers and comes with a series of features to help in testing apps and games.
Moreover, Genymotion can simulate 3000 configurations of devices with support for more than 40 Android devices. It also has advanced automation options and collaboration functions.
6. Remix OS Player
Remix OS Player provides Android’s Marshmallow emulation without any error. Unlike other emulators, the Remix OS Player interface is optimized to be computer-friendly.
Based on Android Studio, Remix OS is optimized for app development and game performance. In addition to coming with a one-click configuration, Remix OS Player is also completely free.
Since it’s a full-fledged operating system, apps and games run at their full potential. The operating system looks like a mix of Android and Windows 10.
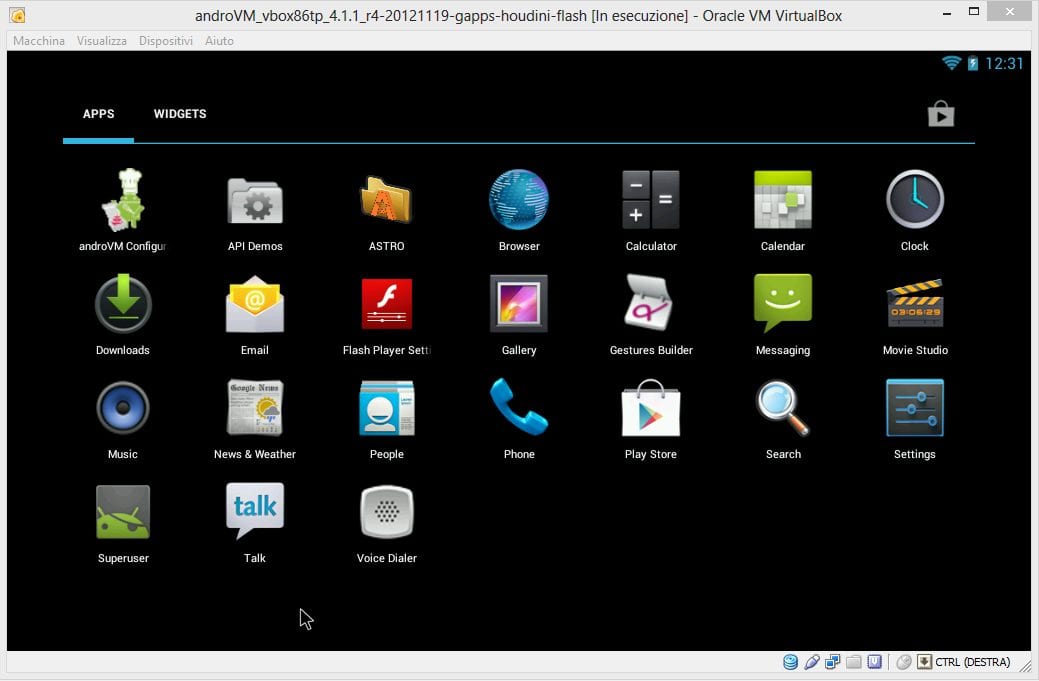
7. VirtualBox
VirtualBox is an impressive cross-platform tool that allows you to run any Android operating system on your Windows computer. It has some classic features along with those traditionally provided by other emulators.
Basically, it’s a virtual machine app that gives you a space to install and test different apps and operating systems. So, you could try to install Android on Virtual box to experience Android on PC.
Developers usually use it to test their mobile apps based on Android. Therefore, you can also create your own emulator using VirtualBox.
8. Android Studio
Well, not exactly an Emulator, Android Studio is a full-fledged developer tool for creating Android apps. It’s meant for developers willing to test their apps before publishing them in the official app stores.
You can’t play games on Android Studio, but you can test your own apps on PC. However, Android Studio is not meant for beginners who have no knowledge of app development.
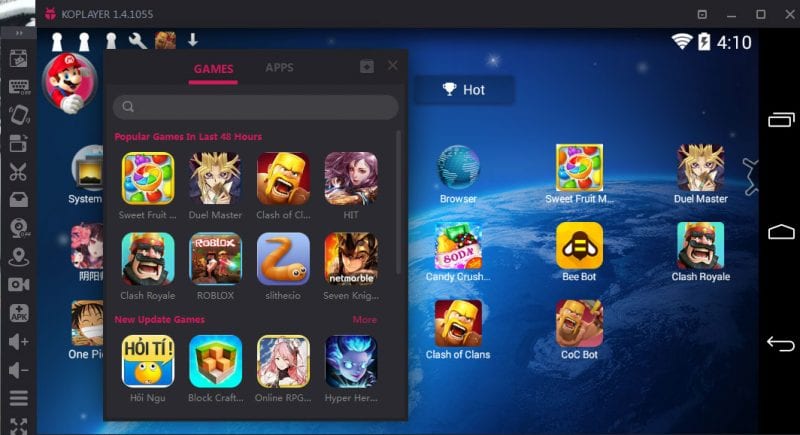
9. KoPlayer
KoPlayer is a relatively new and completely free Android emulator. Its main objective is to run games, allowing you to emulate Android controls with the computer keyboard. Also, record the game and load it from other devices and equipment.
The installation process is quite simple, and the emulator itself works very well. Like most emulators, it has random execution problems, but nothing serious. In addition, it has a lot of utilities and everything at no cost.
10. Andy
Andy is an emulator that allows you to download almost all Android apps and games directly on your computer. With Andy, you can easily run all your favorite apps and enjoy them as if you were doing it on a mobile device.
Moreover, the most interesting thing about this emulator is that it provides unlimited storage capacity as well.
Andy has support for Windows and Mac compatibility. In addition, you can use your mobile as a remote control when running games in the emulator. It also allows you to run all messaging apps from your computer, including WhatsApp, Snapchat, Telegram, Line, etc.
All these emulators mentioned above are the best Android emulators for PC. You can easily run your favorite Android apps & games on your PC with these free emulators. I hope this article helped you! Please share it with your friends also. If you have any doubts related to this, let us know in the comment box below.


 Start-up issues related to Easy Anti Cheat (EAC) have been improved.