A few months ago, Microsoft introduced its new desktop operating system – Windows 11. Compared to the older version of Windows, Windows 11 has a more refined look and more features.
However, the problem with Windows 11 is that it’s still under the testing period. Therefore, even if you have installed the Preview build of Windows 11, you will experience a few bugs and errors.
If you have been using Windows 11, you might have noticed that Microsoft removed the default System Properties page from File Explorer. Now, if you right-click on This PC and select properties, you will be presented with the System Settings panel.
Also read: Download Windows 11 ISO File (64, 32 Bit & Beta Version)
Steps to Check Your PC’s Full Specification on Windows 11
However, the good thing is that Windows 11 still lets you check how much RAM or what type of CPU your machine has. It’s pretty easy to check your PC’s specs on Windows 11. In this article, we will show you how to find system specifications on Windows 11. Let’s check out.
1. Find Via System Settings
In this method, we will utilize the System Settings option to check the PC’s full specification. Here’s what you need to do.
Step 1. First of all, right-click on the Windows Start button and select ‘Settings.’
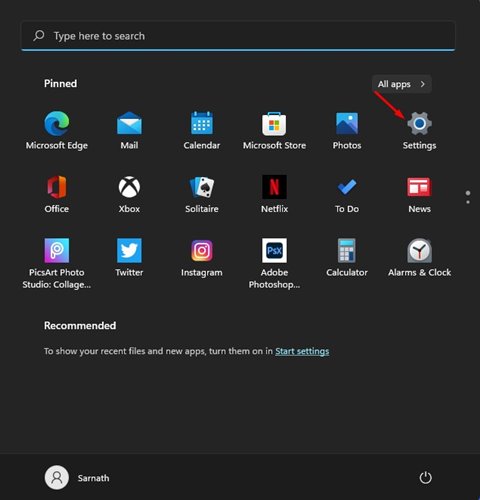
Step 2. On the left pane, click on the ‘System‘ option.

Step 3. On the right pane, scroll down and click on the ‘About‘ option.
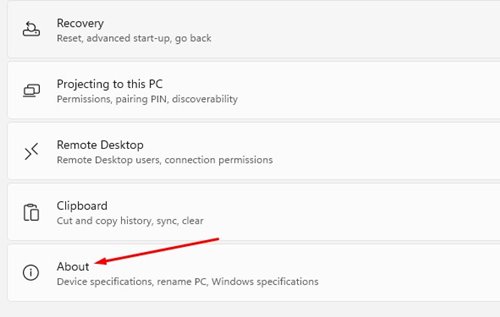
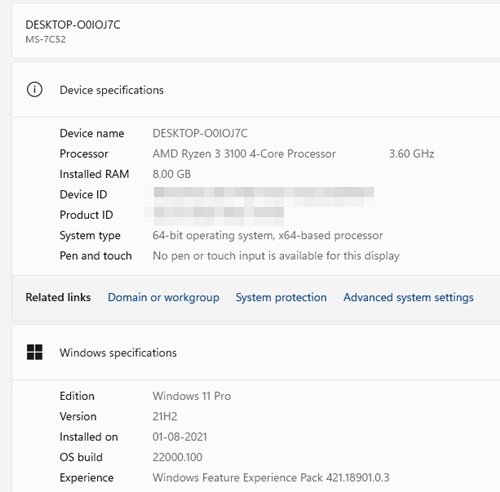
Step 4. You need to look at the Device Specification section. This will list Processor and Installed RAM.
2. Using RUN Command
If you want to check the system specification on Windows 11, you need to use the RUN dialog box. Then, follow some simple steps below to check your PC’s specs on Windows 11.
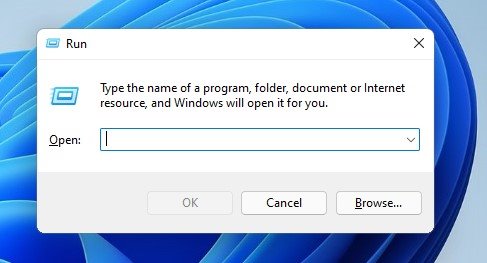
Step 1. First of all, press Windows Key + R button on your keyboard.
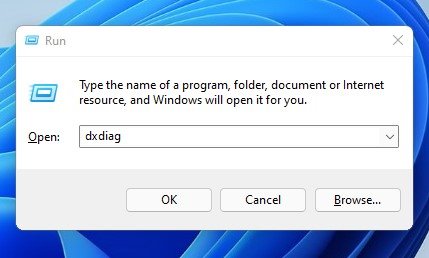
Step 2. On the RUN dialog box, enter ‘dxdiag‘ and hit the Enter button.
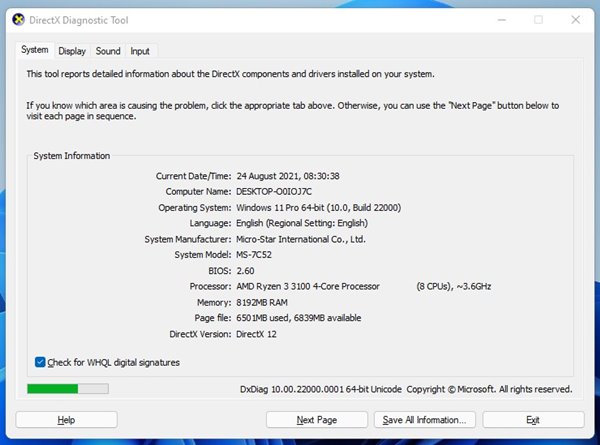
Step 3. The system tab will display Motherboard details, BIOS version, Processor, and RAM.
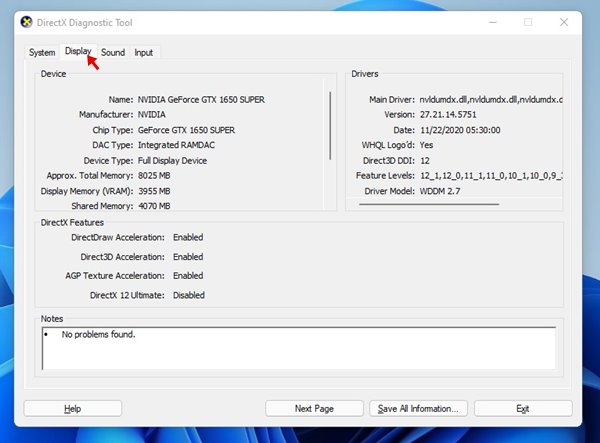
Step 4. Select the ‘Display‘ tab to check the graphic specification of your computer.
That’s it! You are done. This is how you can use the RUN dialog box to check the PC specification on Windows 11.
3. Using Command Prompt
Just like the RUN dialog box, you can use the Command Prompt to check your PC’s specifications. Here’s how to use the Command Prompt.
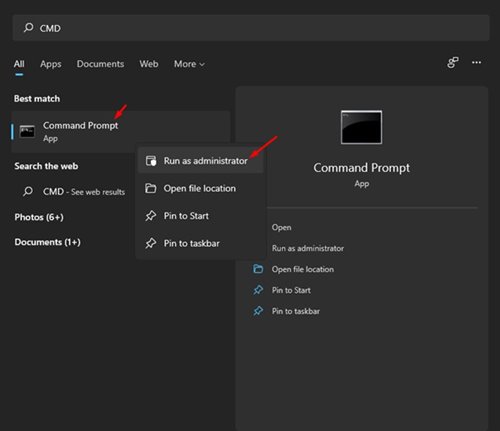
Step 1. First of all, open Windows search and type in CMD. Then, right-click on the ‘CMD’ and select ‘Run as administrator.’
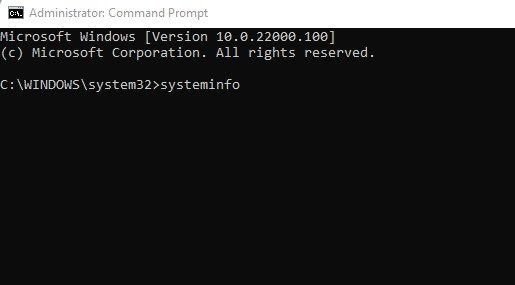
Step 2. On the Command Prompt, type in ‘systeminfo‘ and hit the Enter button.
Step 3. This will display information on all your installed components.
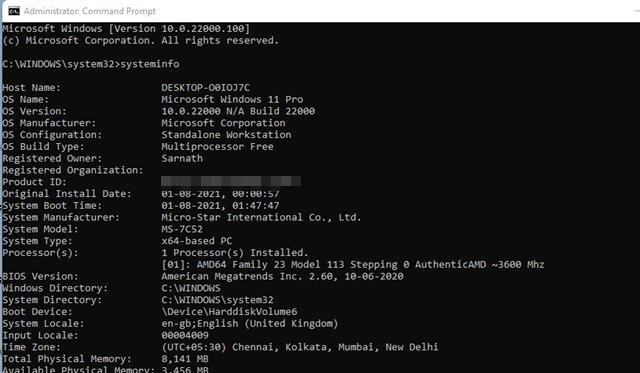
That’s it! You are done. This is how you can use CMD to check your PC’s full specification on Windows 11.
So, this guide is all about how to check your PC’s full specification on Windows 11. I hope this article helped you! Please share it with your friends also. If you have any doubts related to this, let us know in the comment box below.
The post How to Check Your PC’s Full Specification On Windows 11 appeared first on TechViral.
from TechViral https://ift.tt/38glSk5
No comments:
Post a Comment