Well, it’s no doubt that Microsoft’s Windows is right now the most used desktop operating system. Compared to every other desktop operating system, Windows provides users far more customization options. Not only that, but the software availability is also high on Windows compared to any other desktop operating system. If we talk mainly about the customization, you can apply themes or skin packs to change the look of your Windows 10.
You can also customize the Windows icons to make things a little more exciting. To change the Windows icons, there is plenty of third-party software available. But, you don’t need a third-party tool to change the icons. Below, we have shared the best method to customize any icons in Windows 10 without using any third-party software.
How To Customize Any Icon in Windows 10
To change the Windows 10 icons, you need to find and download the custom icons. For those who don’t know, Windows 10 offers lots of icons built-in, but they are not that great. So, to fully customize the Windows 10, you need to download attractive icons.

You can visit the site ‘Flaticon‘, which is one of the best sites to download high-quality icons for free. Just select the icons that you find great and download them in PNG format. You can also visit sites like IconArchive, Graphic Burger, or Google Images to grab great icons.
Convert PNG images to ICO (Icons)
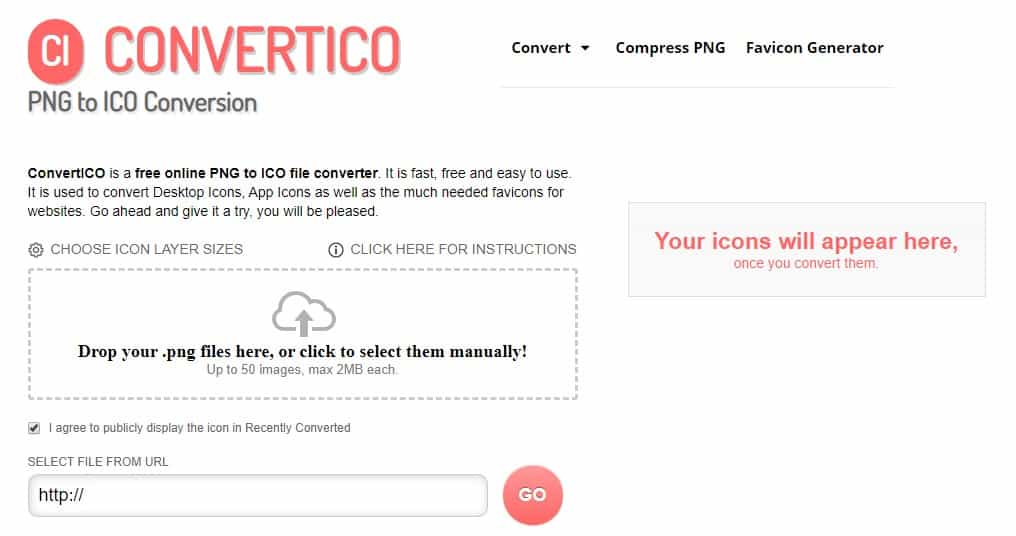
After downloading the favorite icon packs, you need to convert those RAW files to ICO icons. To do that, visit the site ConvertICO. The best thing about ConvertICO is that it allows users to convert up to 50 PNG images at once into the ICO file format.

Just visit the Convert ICO website and drag and drop the png files here to convert them into the ICO icon files. You can also use other converting websites, but in our opinion, ConvertICO is the best of all.
How To Change Icons In Windows 10
Well, changing icons in Windows 10 is an easy process. However, you can’t easily change the icons of the executable files. So, before changing the icons, make sure to create a shortcut of the app. To do that, right-click on the app executable and choose to Send To > Desktop (Create Shortcut)
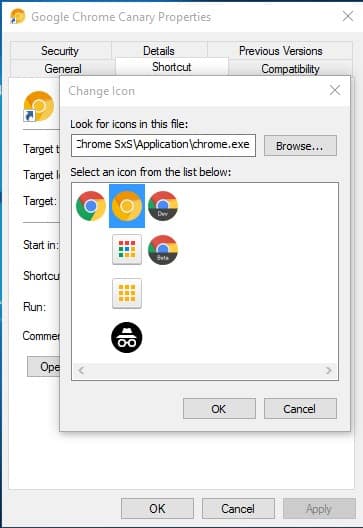
Once done, right-click on the Shortcut on the desktop and select ‘Properties’. Now on the Properties tab, click on the ‘Change Icon’ option. Now you will see the built-in icons. You need to browse the new ICO files that you have converted from PNG. Once done, click on ‘Ok’.

That’s it; you are done! This is how you can change icons in Windows 10 without using any third-party software. I hope this guide helped you share it with others as well. If you have any doubts, let us know in the comment box below.
The post How To Customize Any Icon in Windows 10 appeared first on Tech Viral.
from Tech Viral https://ift.tt/2LOUnE7
No comments:
Post a Comment