
Compared to every other desktop operating system, Windows provides users far more features. This is the only reason why Windows is running on the majority of the desktop computer and laptops. If you are using a Windows operating system for a while, then you might be well aware of the RUN commands.
RUN commands are one of the most useful things we can talk about. The RUN dialog box lets you open a system file or application by entering a short command rather than navigation to the particular apps. It basically serves as a shortcut, but they are limited to perform only certain actions.
What if I tell you that you can now create RUN commands on Windows? Yes, you read that right! You can create your own run commands in Windows 10 operating system. However, creating custom RUN command is not an easy task. You need to carefully follow the methods given in the article to create custom RUN commands.
How To Create Your Own Run Commands In Windows
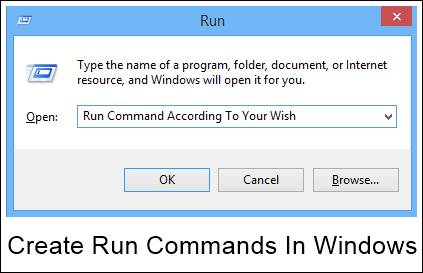
In this article, we are going to share a few best methods to create your own RUN commands in Windows 10 operating system.
The Simple Way:
This is the easiest way that you can use to create Run command on your Windows computer. Here you don’t need to alter any Windows settings. You just need to CUT/PASTE the shortcut files to the windows folder to create RUN command.
Step 1. First of all, you need to select the app you want to create a shortcut.
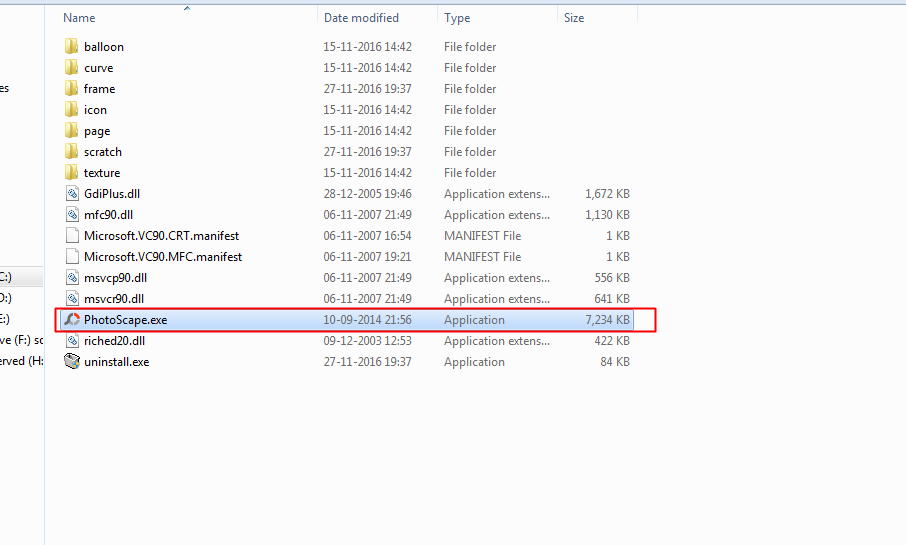
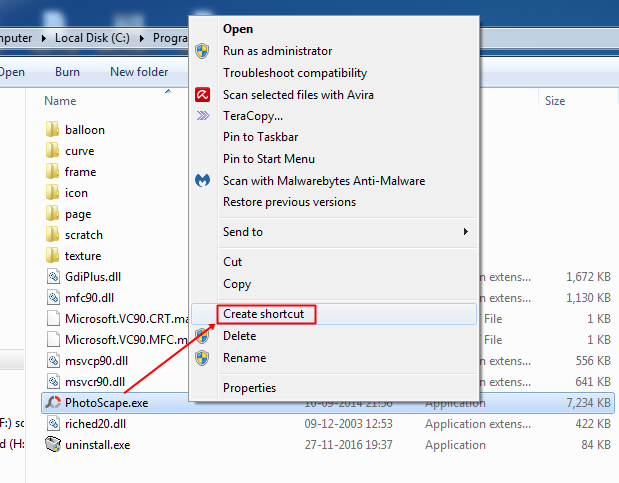
Step 2. Now right click on the app and then click on “Create shortcut”
Step 3. Now you need to move the file to Windows folder (My Computer> Local Disk:C> Windows)
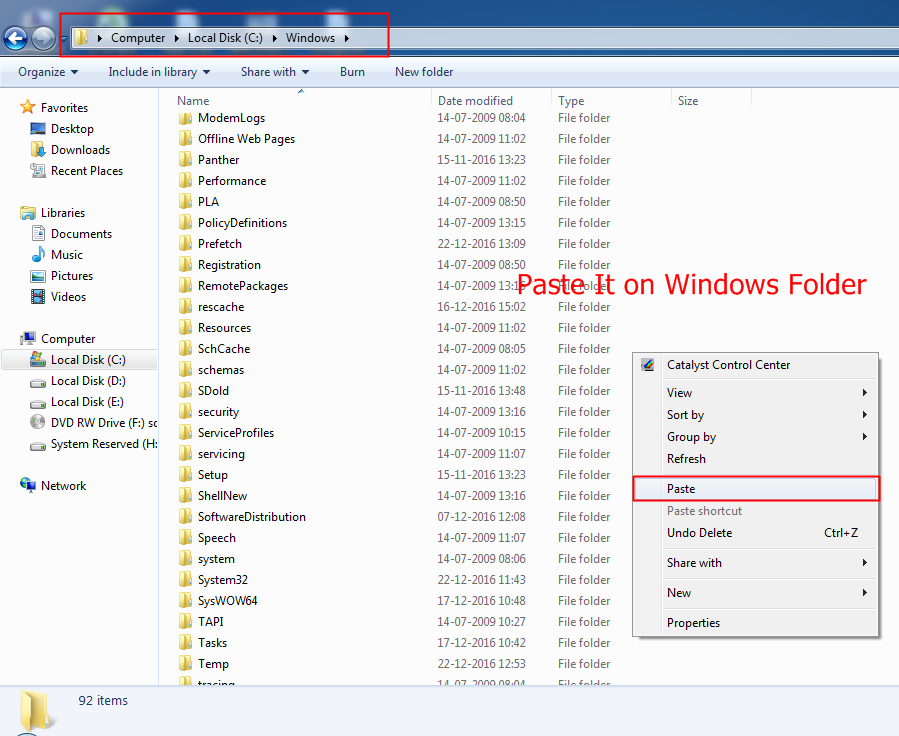
Step 4. That’s it! You have created the shortcut file for that particular app. Simply press “CTRL+R” and in the run box type the name of the shortcut file that you moved into the Windows folder, it will open.
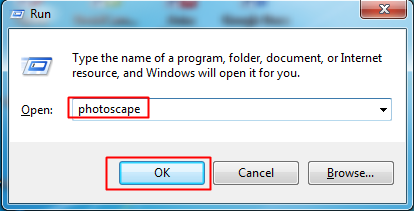
Manually Creating The Shortcut File:
Step 1. Firstly, select the software whose run command you want to create. Here we will be selecting Mozilla Firefox. You can select any of the software that you use frequently while working on a computer.
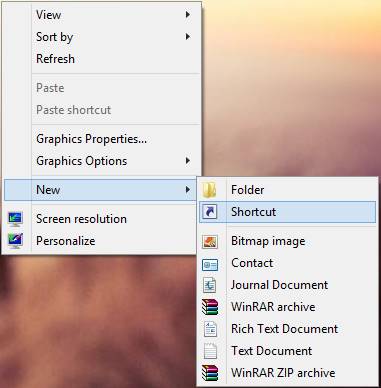
Step 2. Now right click on the desktop and select new and then shortcut.
Step 3. Now a dialog box will appear and then it will ask you for the path you want to select to access any of your installed applications.
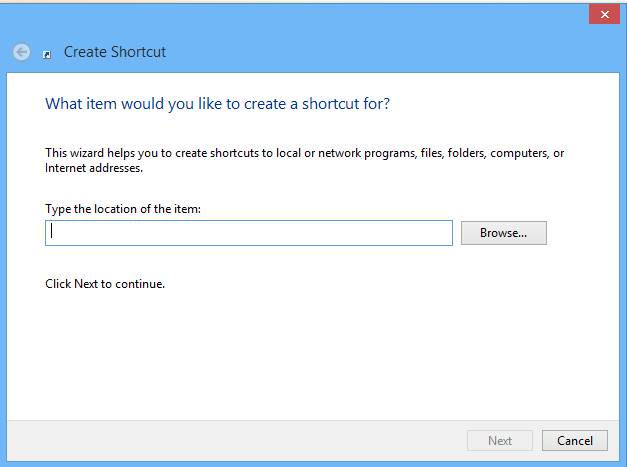
Step 4. Now you have to give the path of the application, and we know that our all programs are installed in the Program Files folder of C drive. After opening C drive clicks on the folder of your application that you want to open, here we will open a folder of Mozilla Firefox.
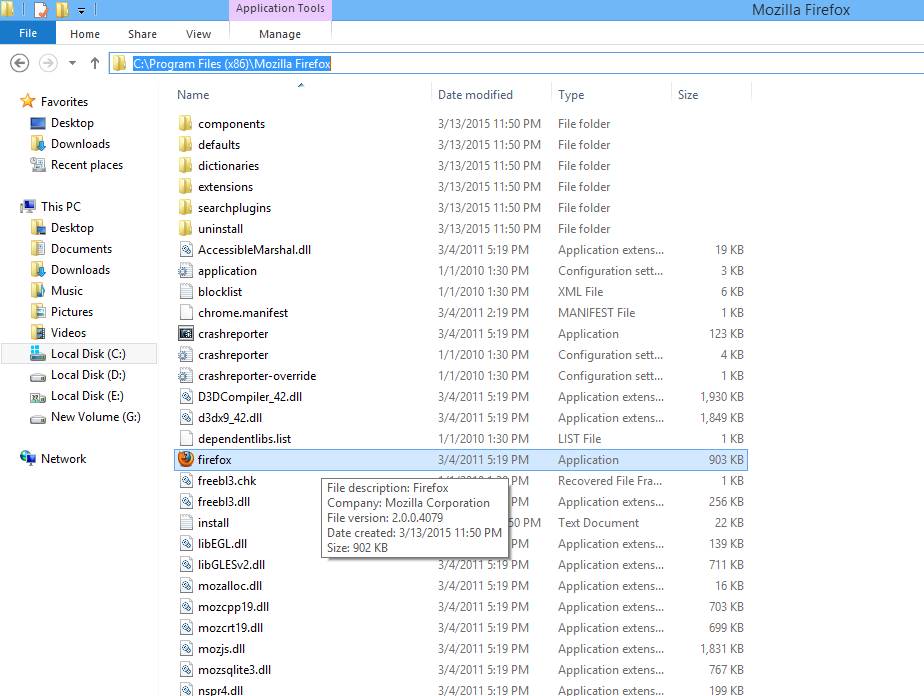
Step 5. Now locate the address of the application like C:Program Files (x86)Mozilla Firefoxfirefox.exe. Now paste this path in your shortcut dialog box and proceed by clicking next. Now give it any desired name and your folder is created.
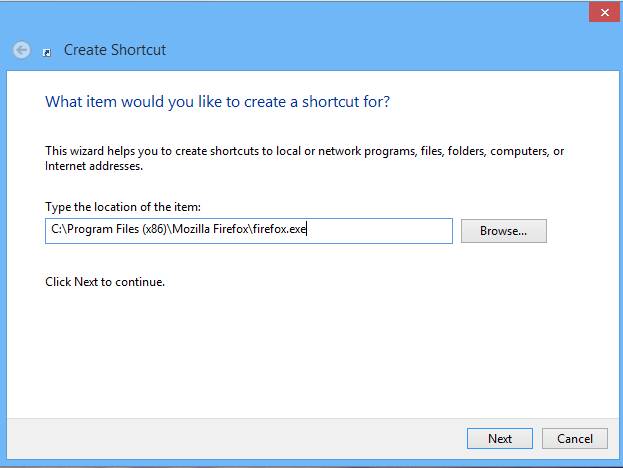
Now paste this path in your shortcut dialog box and proceed by clicking next. Give it any desired name and your folder is created. Now you just need to enter the name of the application on the RUN dialog box to open it instantly.
Using AddToRun
AddToRun is a small utility that will allow you to open any file or application from the Start Menu’s Run Command dialog box (WIN+R). It has a very simple interface that will allow you to select a file and assign it an alias or friendly name.
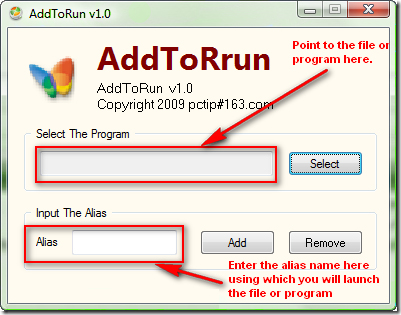
You simply need to press Windows Key + R at the same time that will bring AddTorun utility. You need to browse the program and set the name in “Alias” and you can run it from Run Prompt
Using Registry Edit
You can also create your own RUN command by adding keys to Windows Registry. However, if you are going for this method, then I suggest you take a backup of the registry.
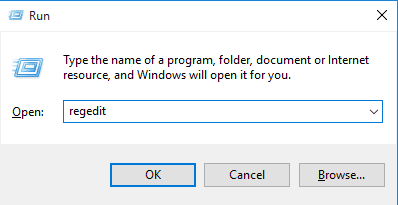
Step 1. First of all, open the Run command (Windows Key + R) and then type Regedit and hit enter.
Step 2. Now you need to navigate to the following section:
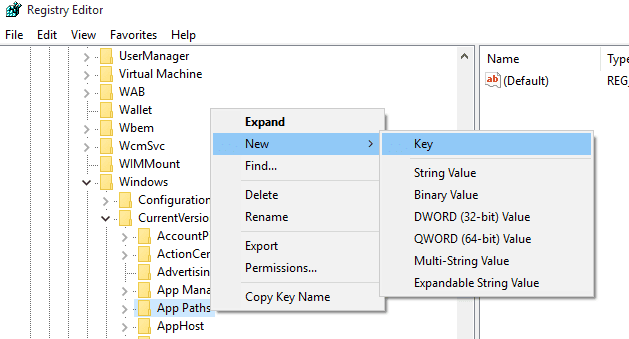
HKEY_LOCAL_MACHINE > SOFTWARE > Microsoft > Windows > CurrentVersion > App Paths
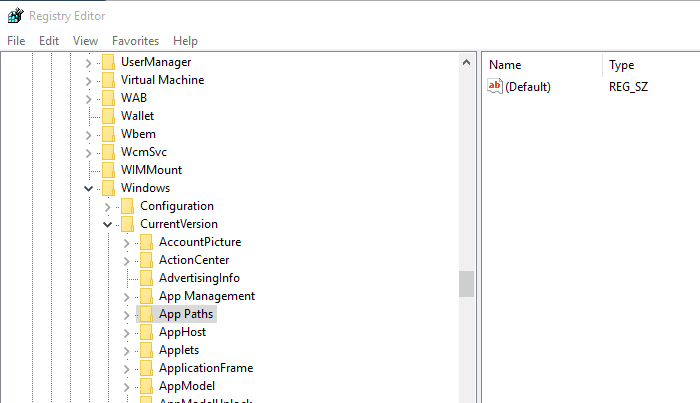
Step 3. Now you need to right-click on the “App Paths” and then choose New > Key
Step 4. Type the name of the key and .exe. For example, I am about to create the shortcut for Google chrome, so I need to create a command like Google chrome.exe
Step 5. Now in the right panel, you need to right-click on “Default Key” and then select the option “Modify”
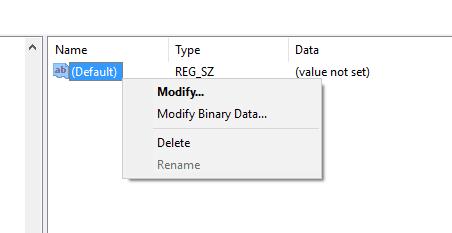
Step 6. Now in the Value data field, enter the URL of the Google Chrome executable file.
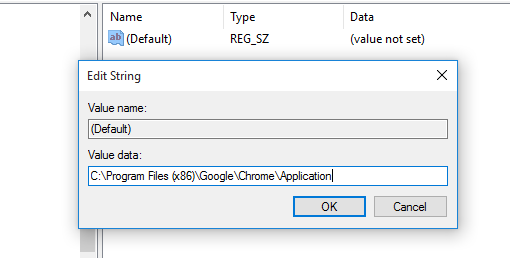
That’s it, you are done! from now on whenever you will type Chrome in run command it will open Google chrome browser for you.
You can create unlimited RUN commands by following the steps given below
The tool listed in the article is extremely safe to use. However, make sure to download it from trusted sources.
So this is all about How To Create Run Commands In Windows. I hope this article helped you! Share it with your friends also.
The post How To Create Your Own Run Commands In Windows (4 Methods) appeared first on Tech Viral.
from Tech Viral https://ift.tt/3dicFsj
No comments:
Post a Comment